


Trees are an essential part of the ecosystem, so legislation in many developed countries prohibits removing them for no fundamental reason.
If you consider removing a tree, it is likely due to safety concerns, disease, or interference with your property’s infrastructure. Perhaps the tree has grown too close to power lines, become unstable from decay, or poses a risk to nearby structures. Regardless of the reason, understanding how a tree is safely removed can provide clarity and peace of mind.
Planning and Preparation
Before approaching that troublesome oak with your chainsaw, pause for a moment. Tree removal is not merely a straightforward act of cutting wood, it has to be done with a lot of caution. Planning and getting ready are super important for dealing with the tricky parts of your tree removal project. This way, you can avoid any accidents or damage to property along the way.
Decide if It Is Safe
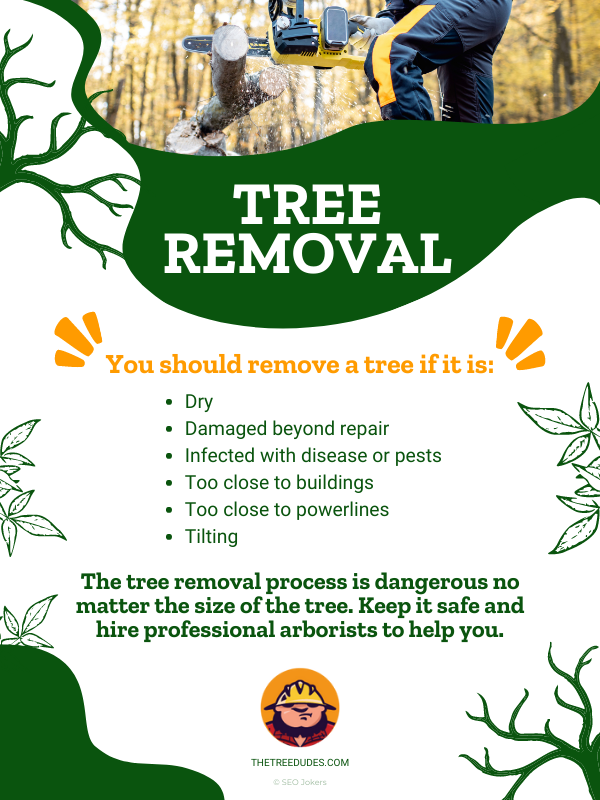
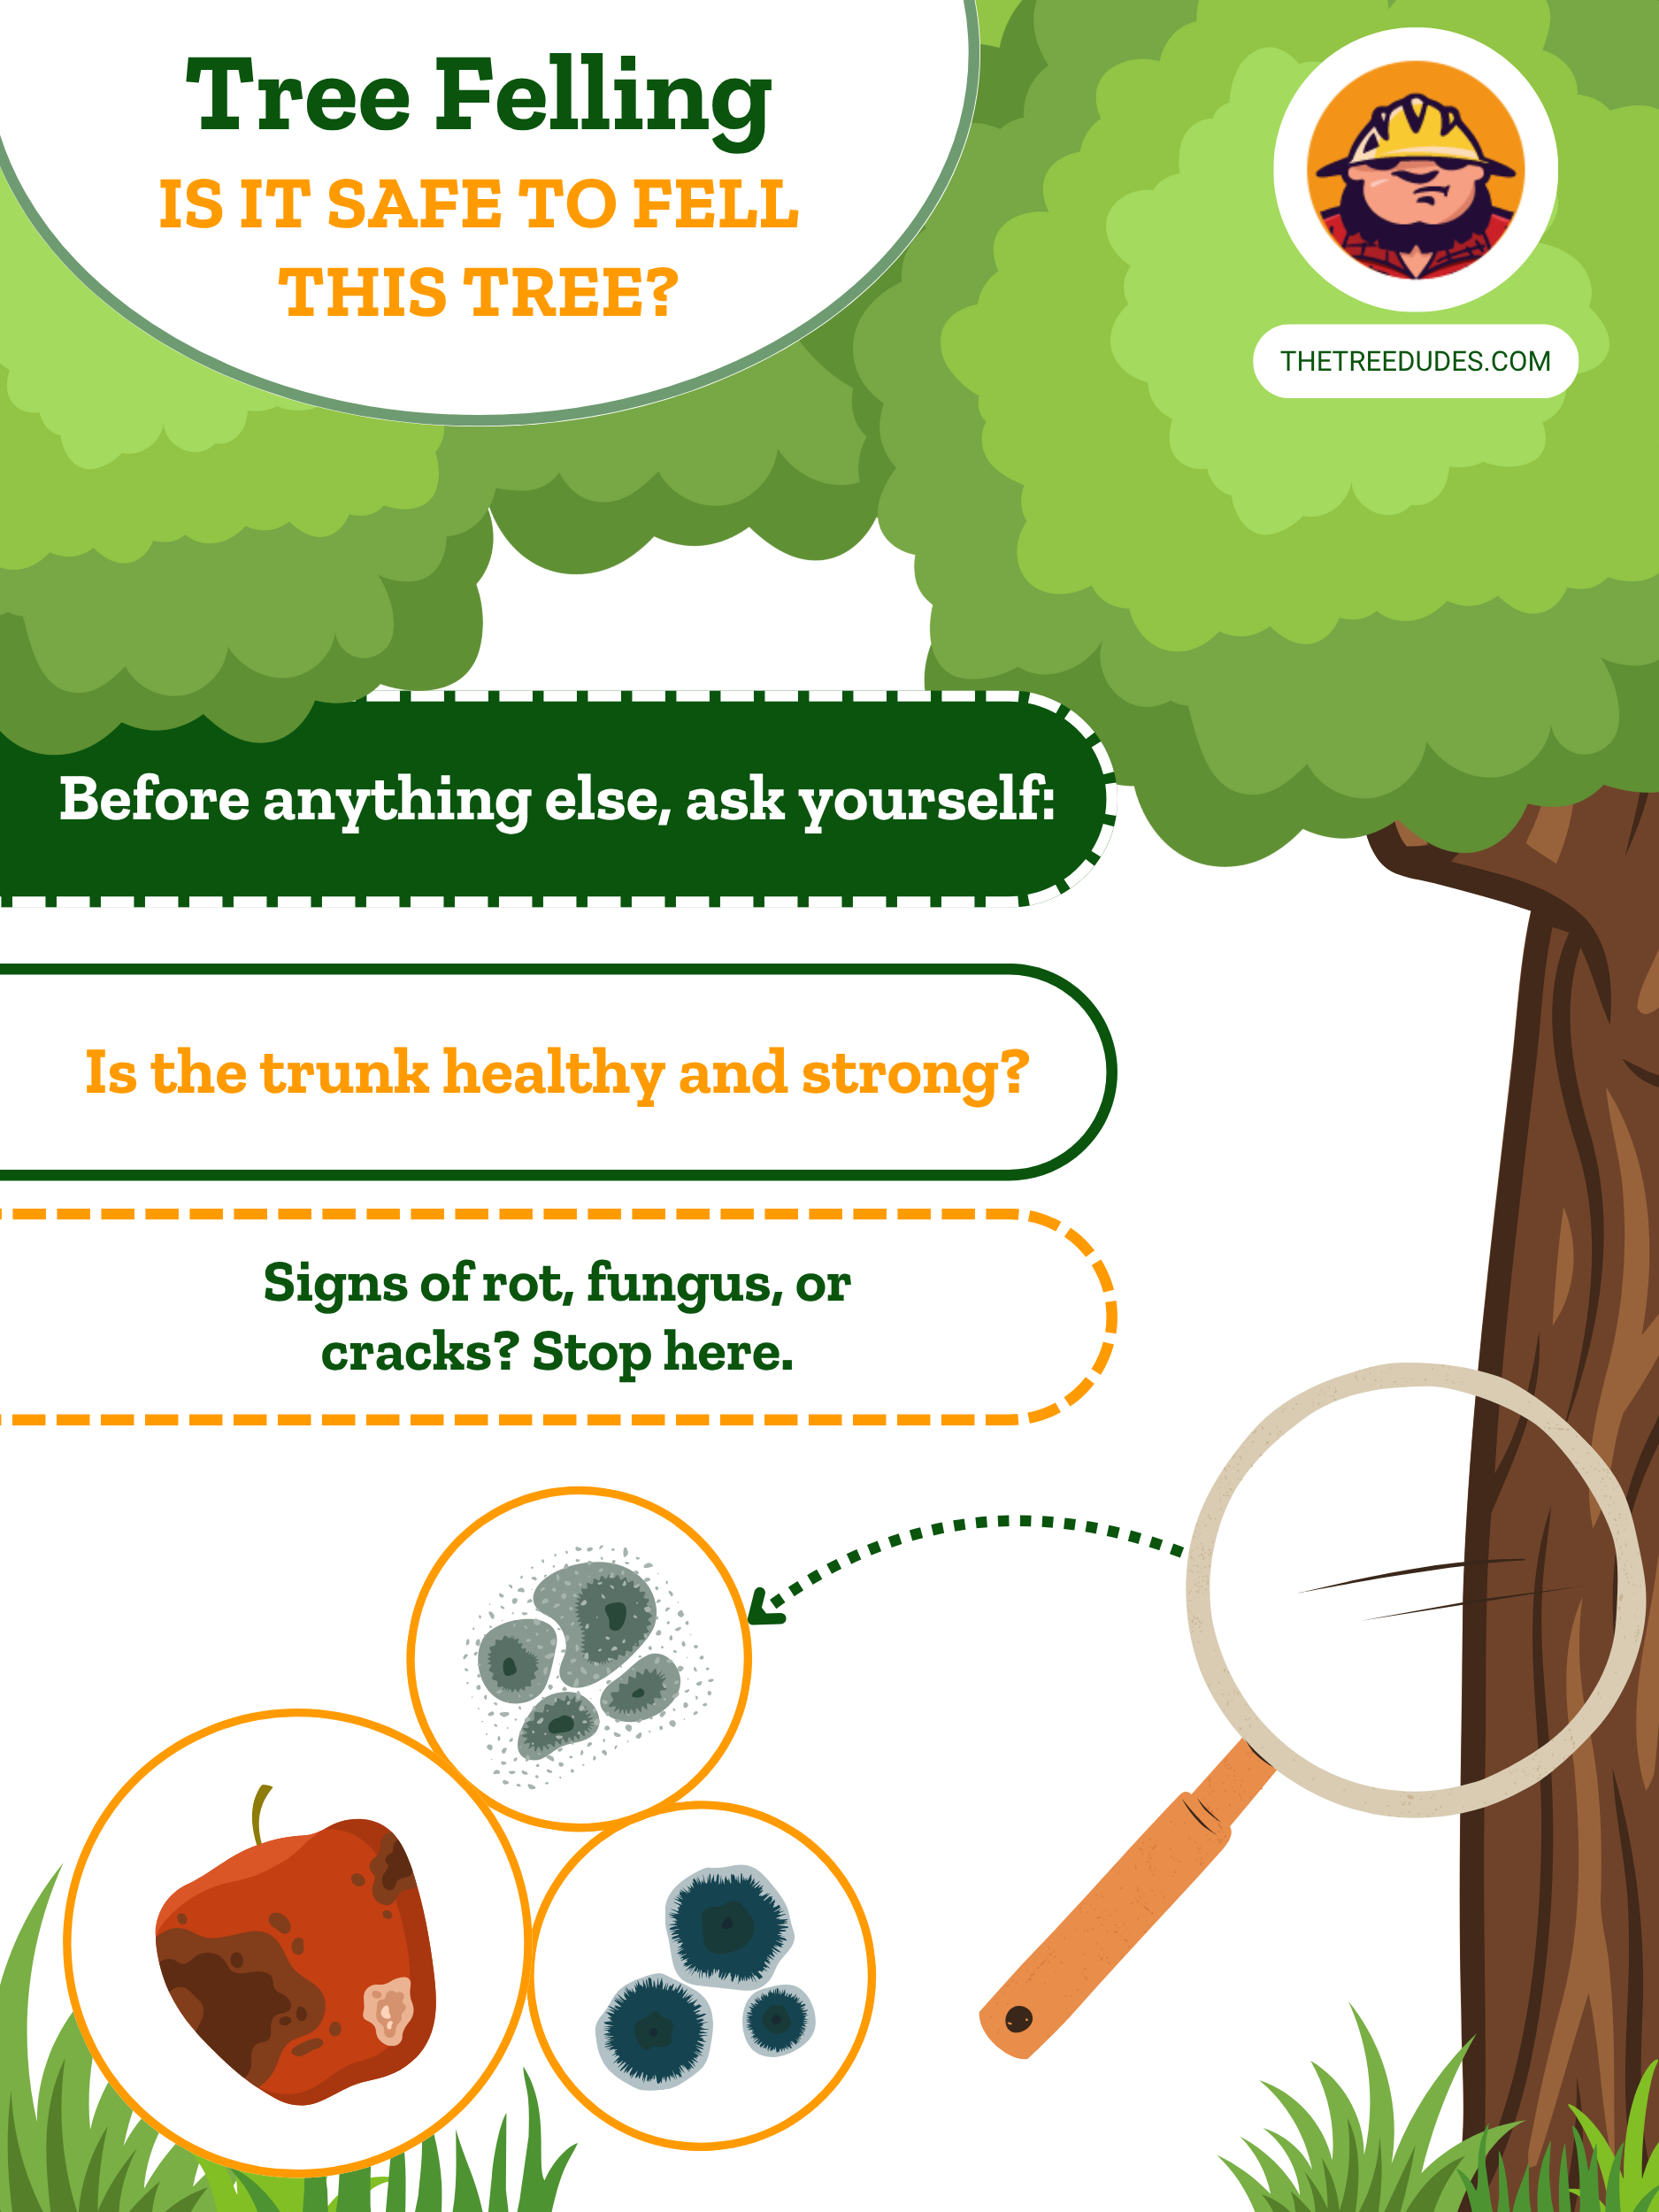
First and foremost, evaluate the situation carefully. Is it safe and realistic to attempt removing the tree? Even a seemingly straightforward tree can pose challenges. Think of the tree like a big, sleepy giant, it is chill and safe right now, but it could cause a lot of chaos.
To avoid transforming your yard into a potential accident scene, ask yourself these questions:
- How large and tall is the tree? Larger trees demand specialized equipment and greater expertise.
- Is the tree located near power lines, buildings, fences, or public roads? A misplaced fall can lead to serious damage or legal liabilities.
- Does the tree appear diseased, dead, or structurally unstable? When a tree is damaged, it can act unpredictably when you try to take it down, making it much riskier.
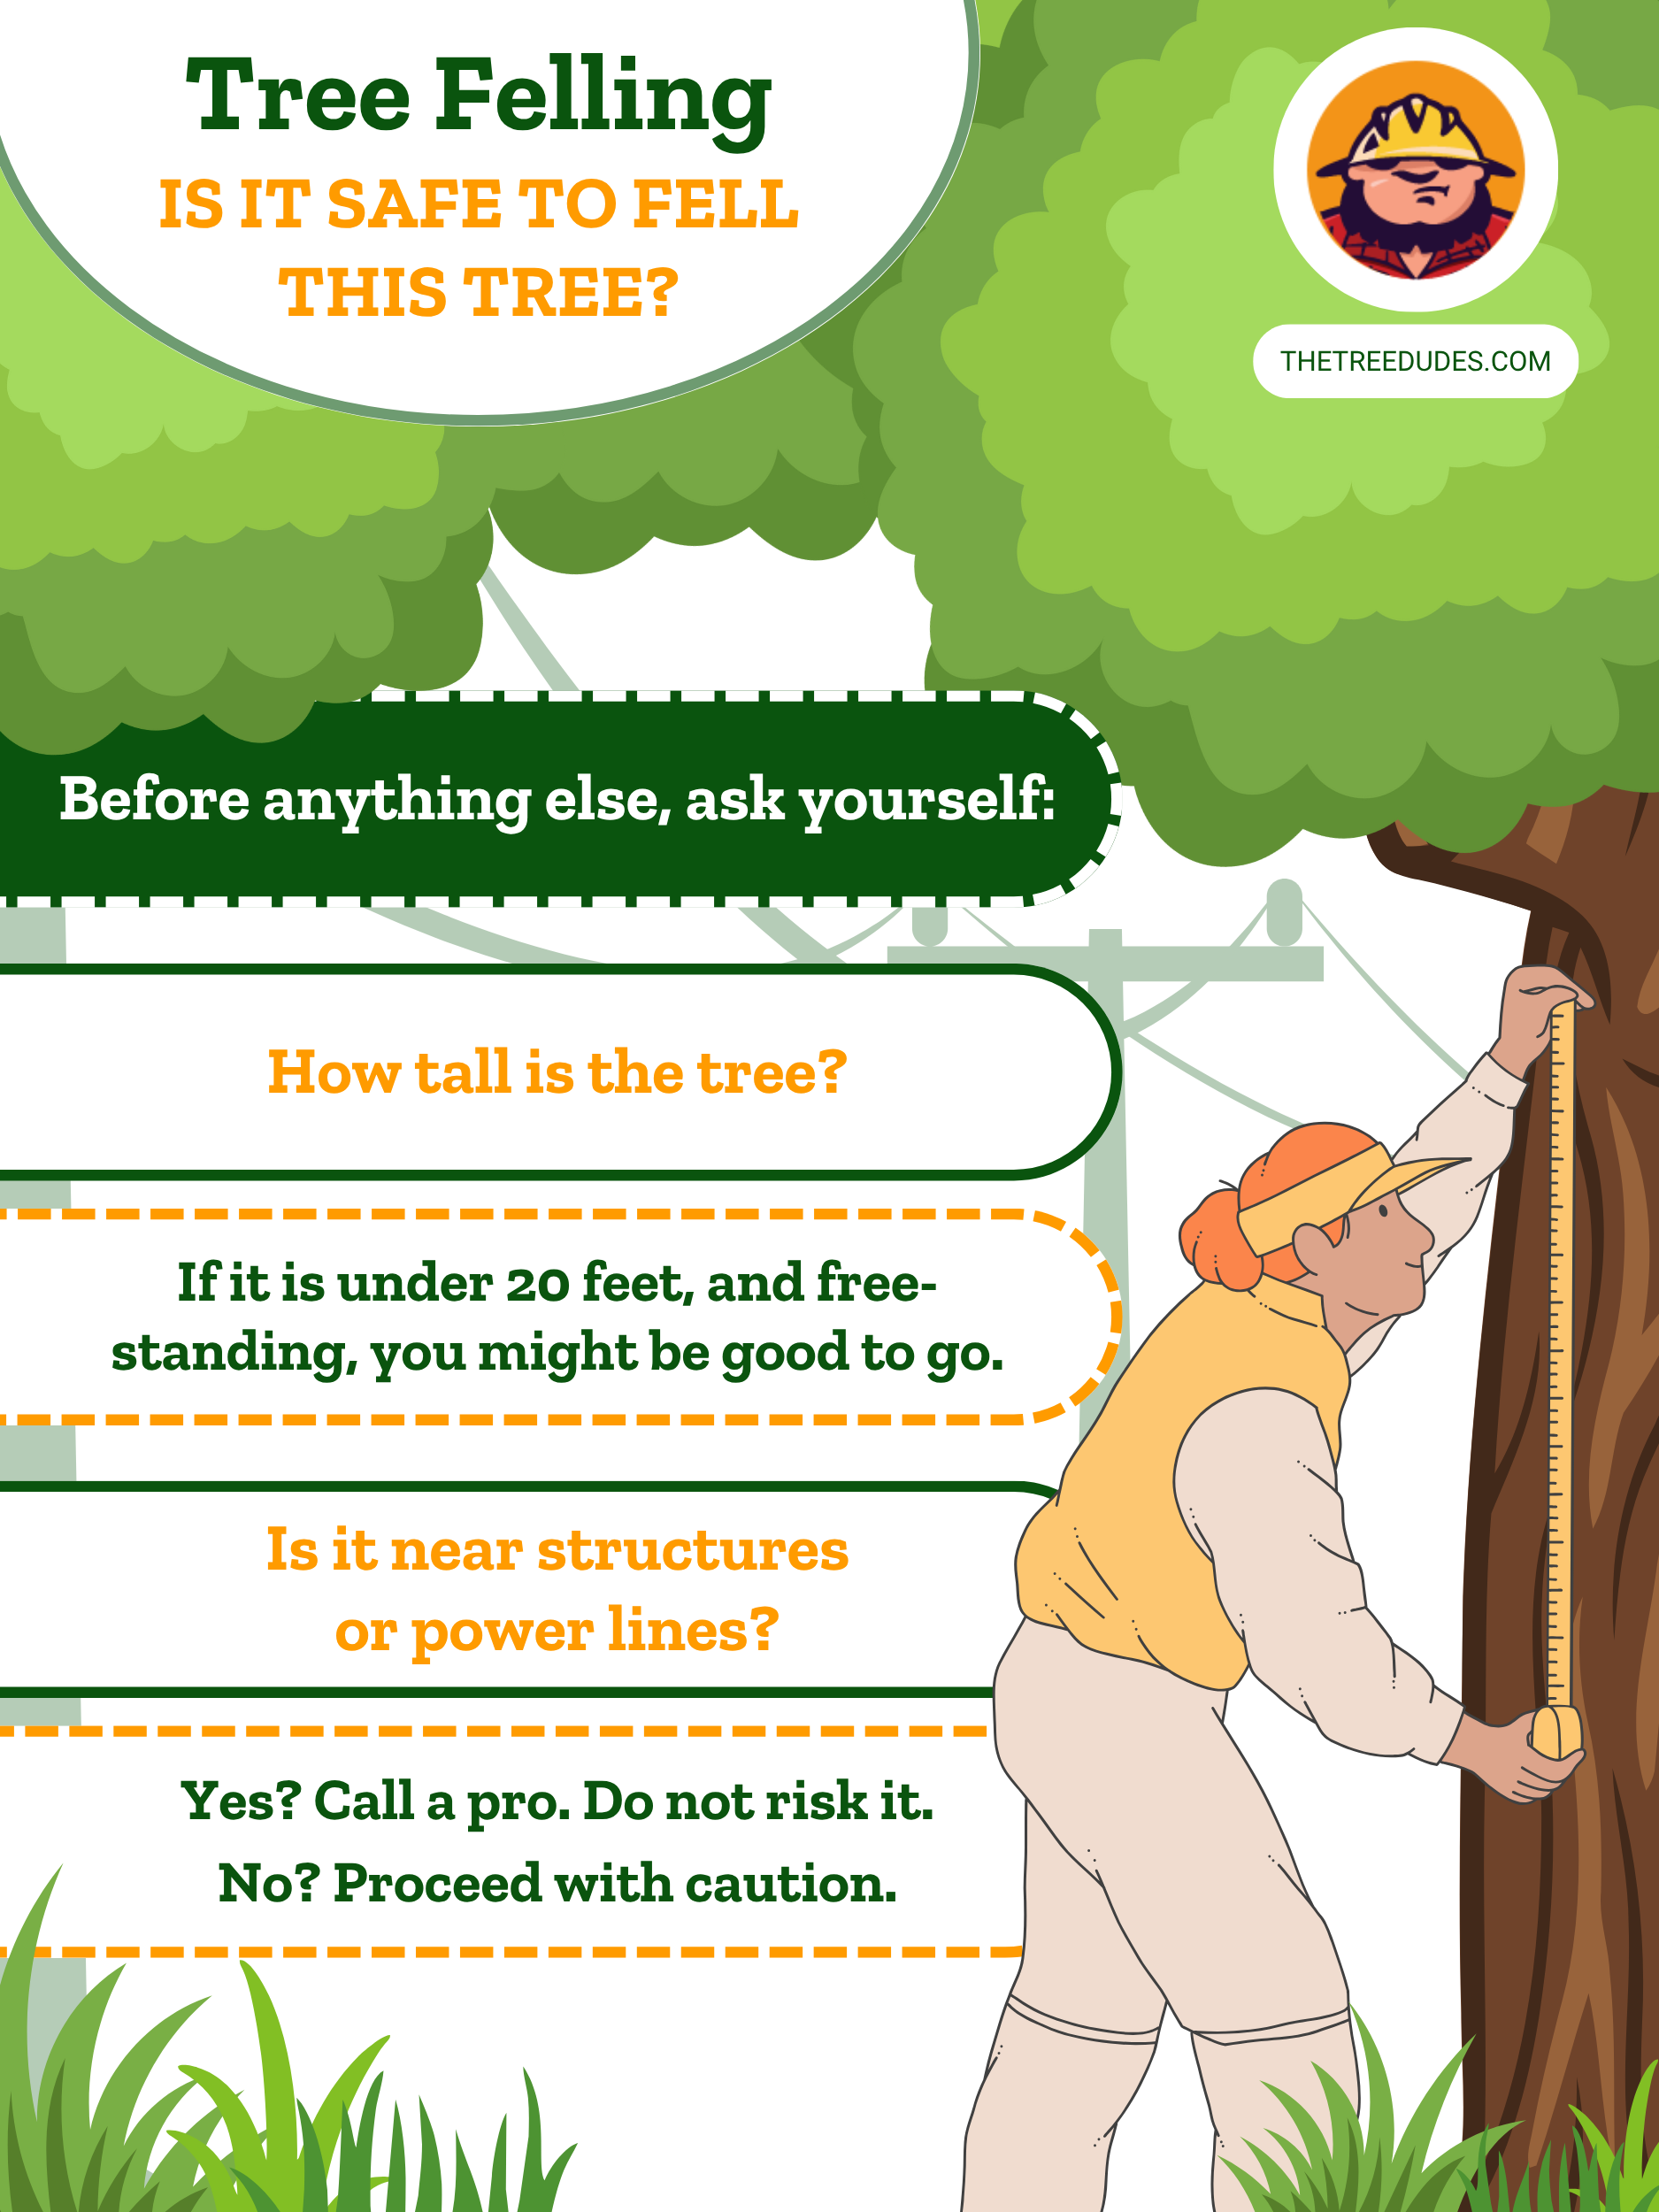
Calling a professional tree service is strongly recommended if the tree is massive, close to power lines or structures, or visibly weakened by disease or decay. On the other hand, if the tree seems manageable and you have sufficient confidence in your DIY capabilities, then proceed carefully.
Choosing Your Tools
Selecting the right equipment for taking down a tree involves careful consideration and prioritizing safety above all else.
Chainsaws
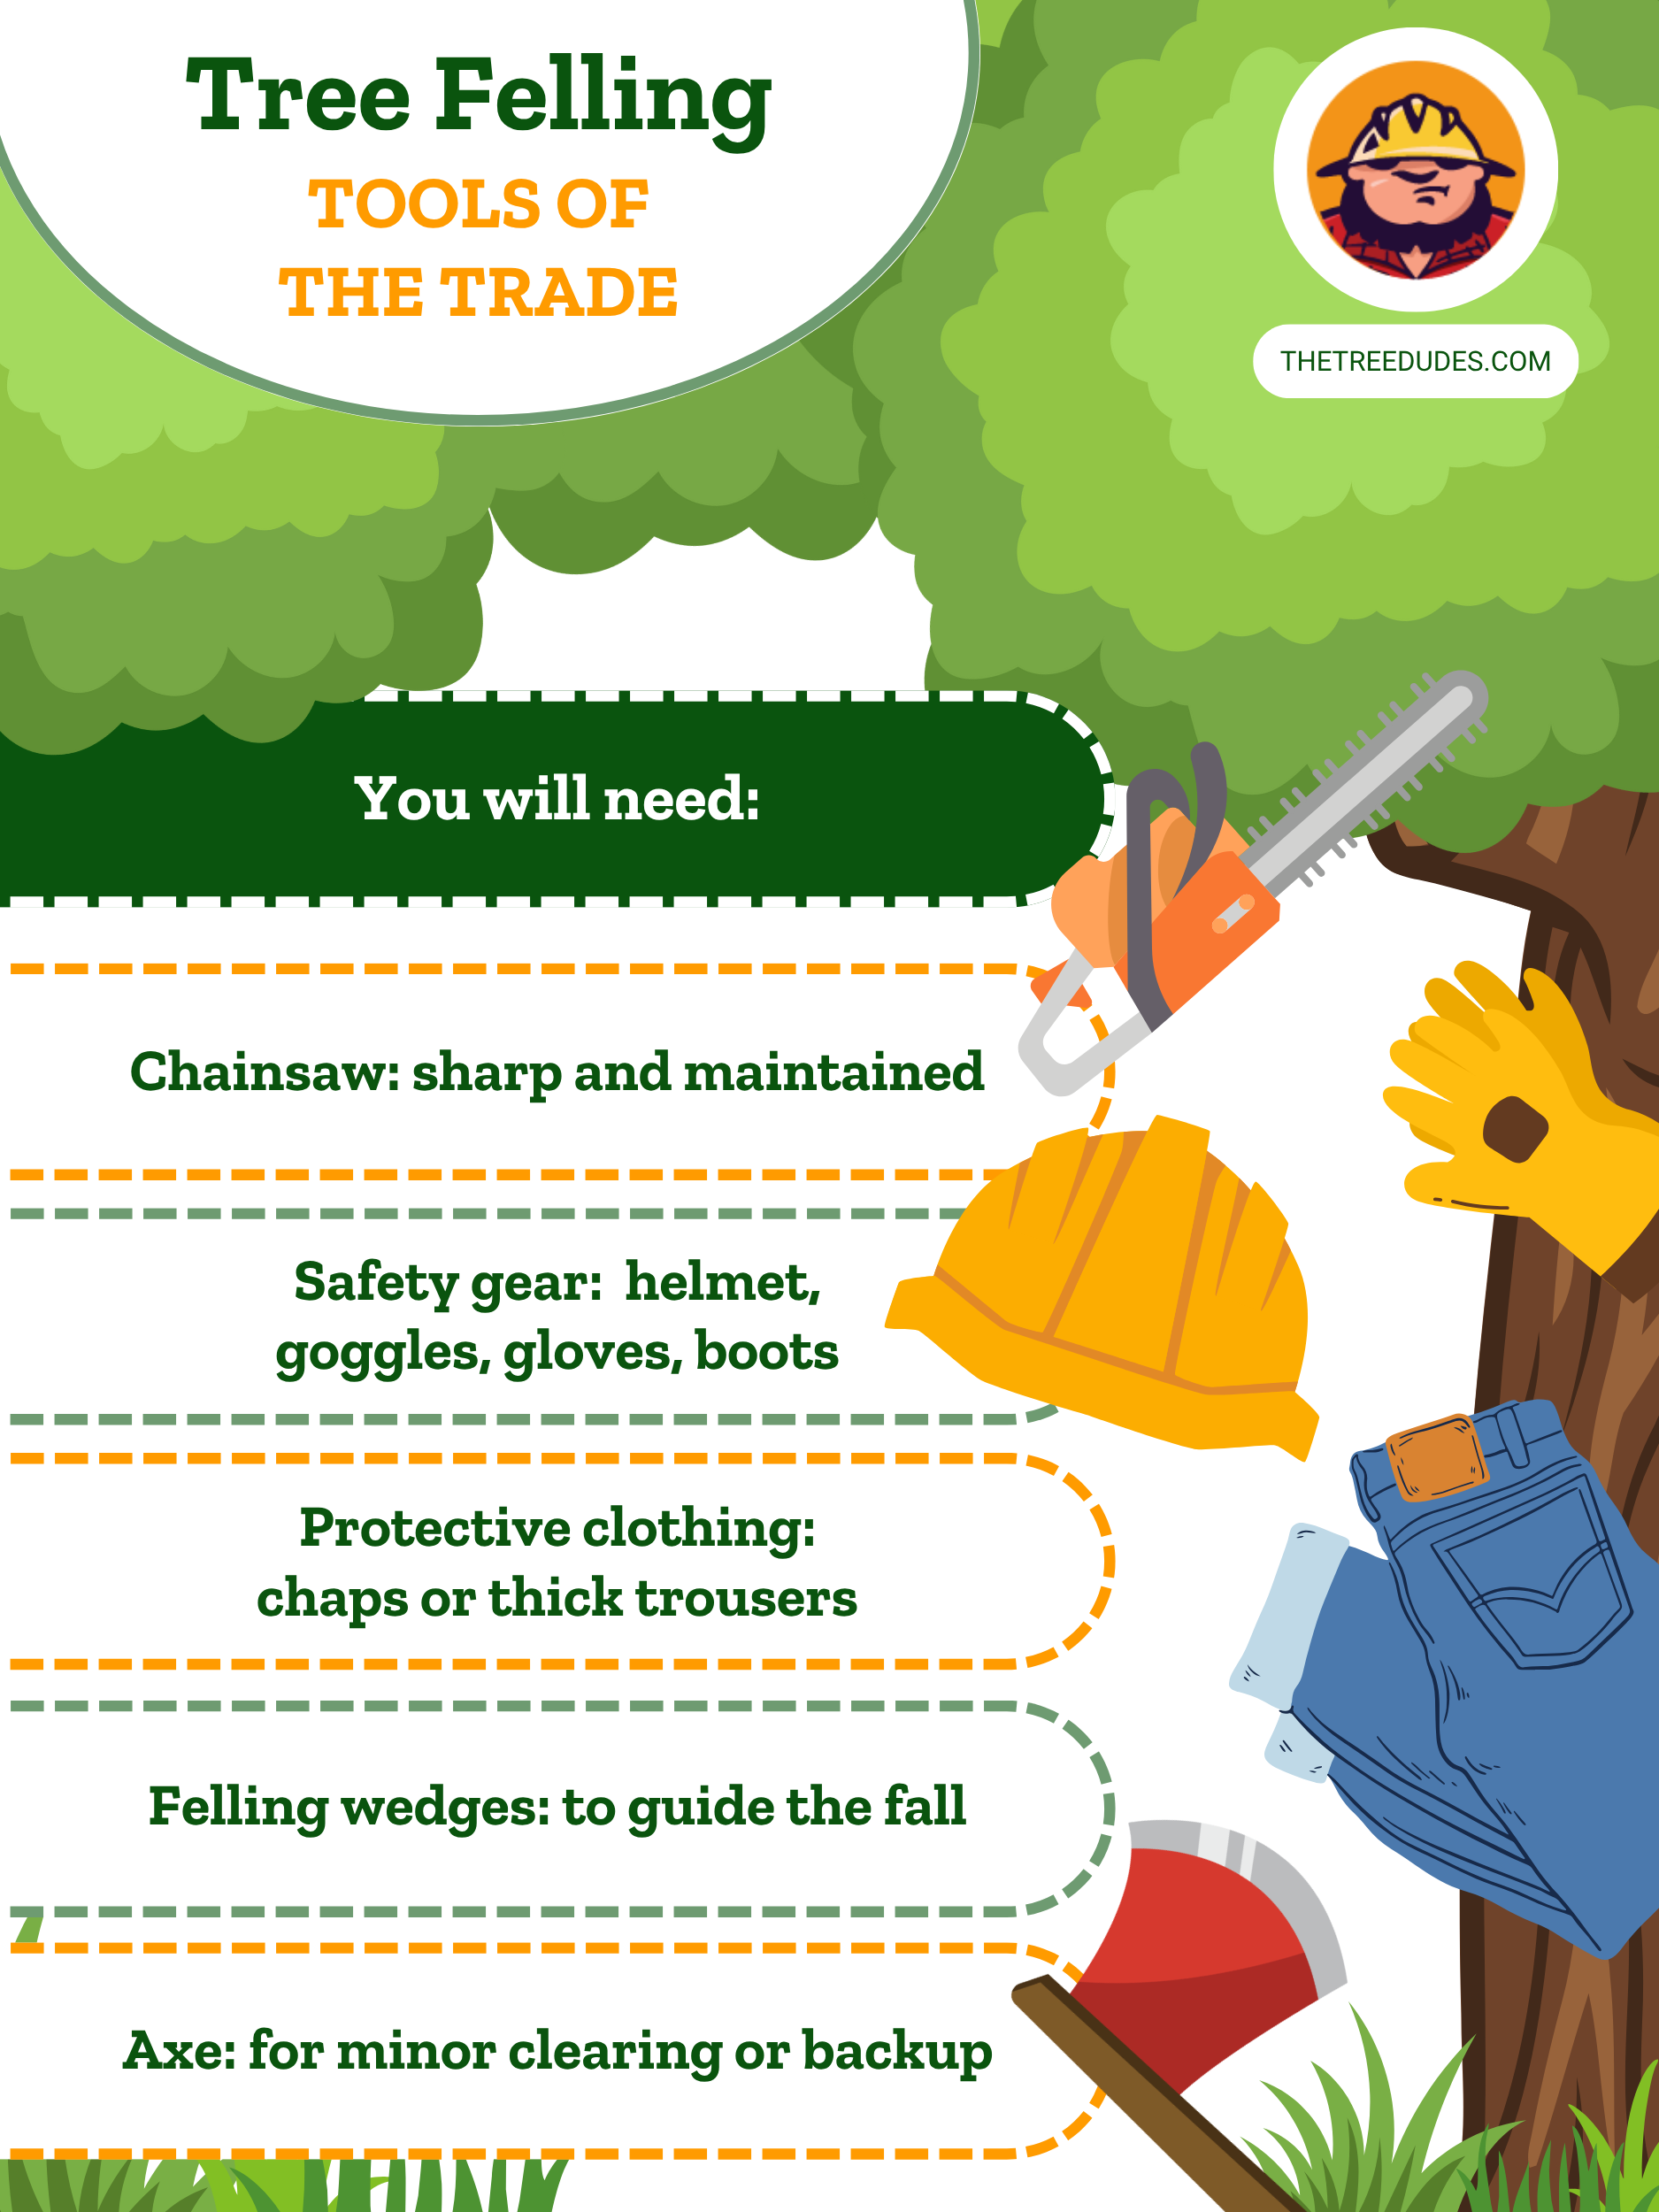
The primary tool you will need is a dependable chainsaw. For smaller trees, such as fruit trees, ornamental varieties, or younger specimens, an electric or smaller gas-powered chainsaw usually provides sufficient power and maneuverability. However, when facing larger, thicker trees, you will need to upgrade to a more robust, gas-powered chainsaw designed specifically for heavy-duty work. A chainsaw should always be carefully maintained, sharp, and appropriately sized for the task at hand.
Safety Gear
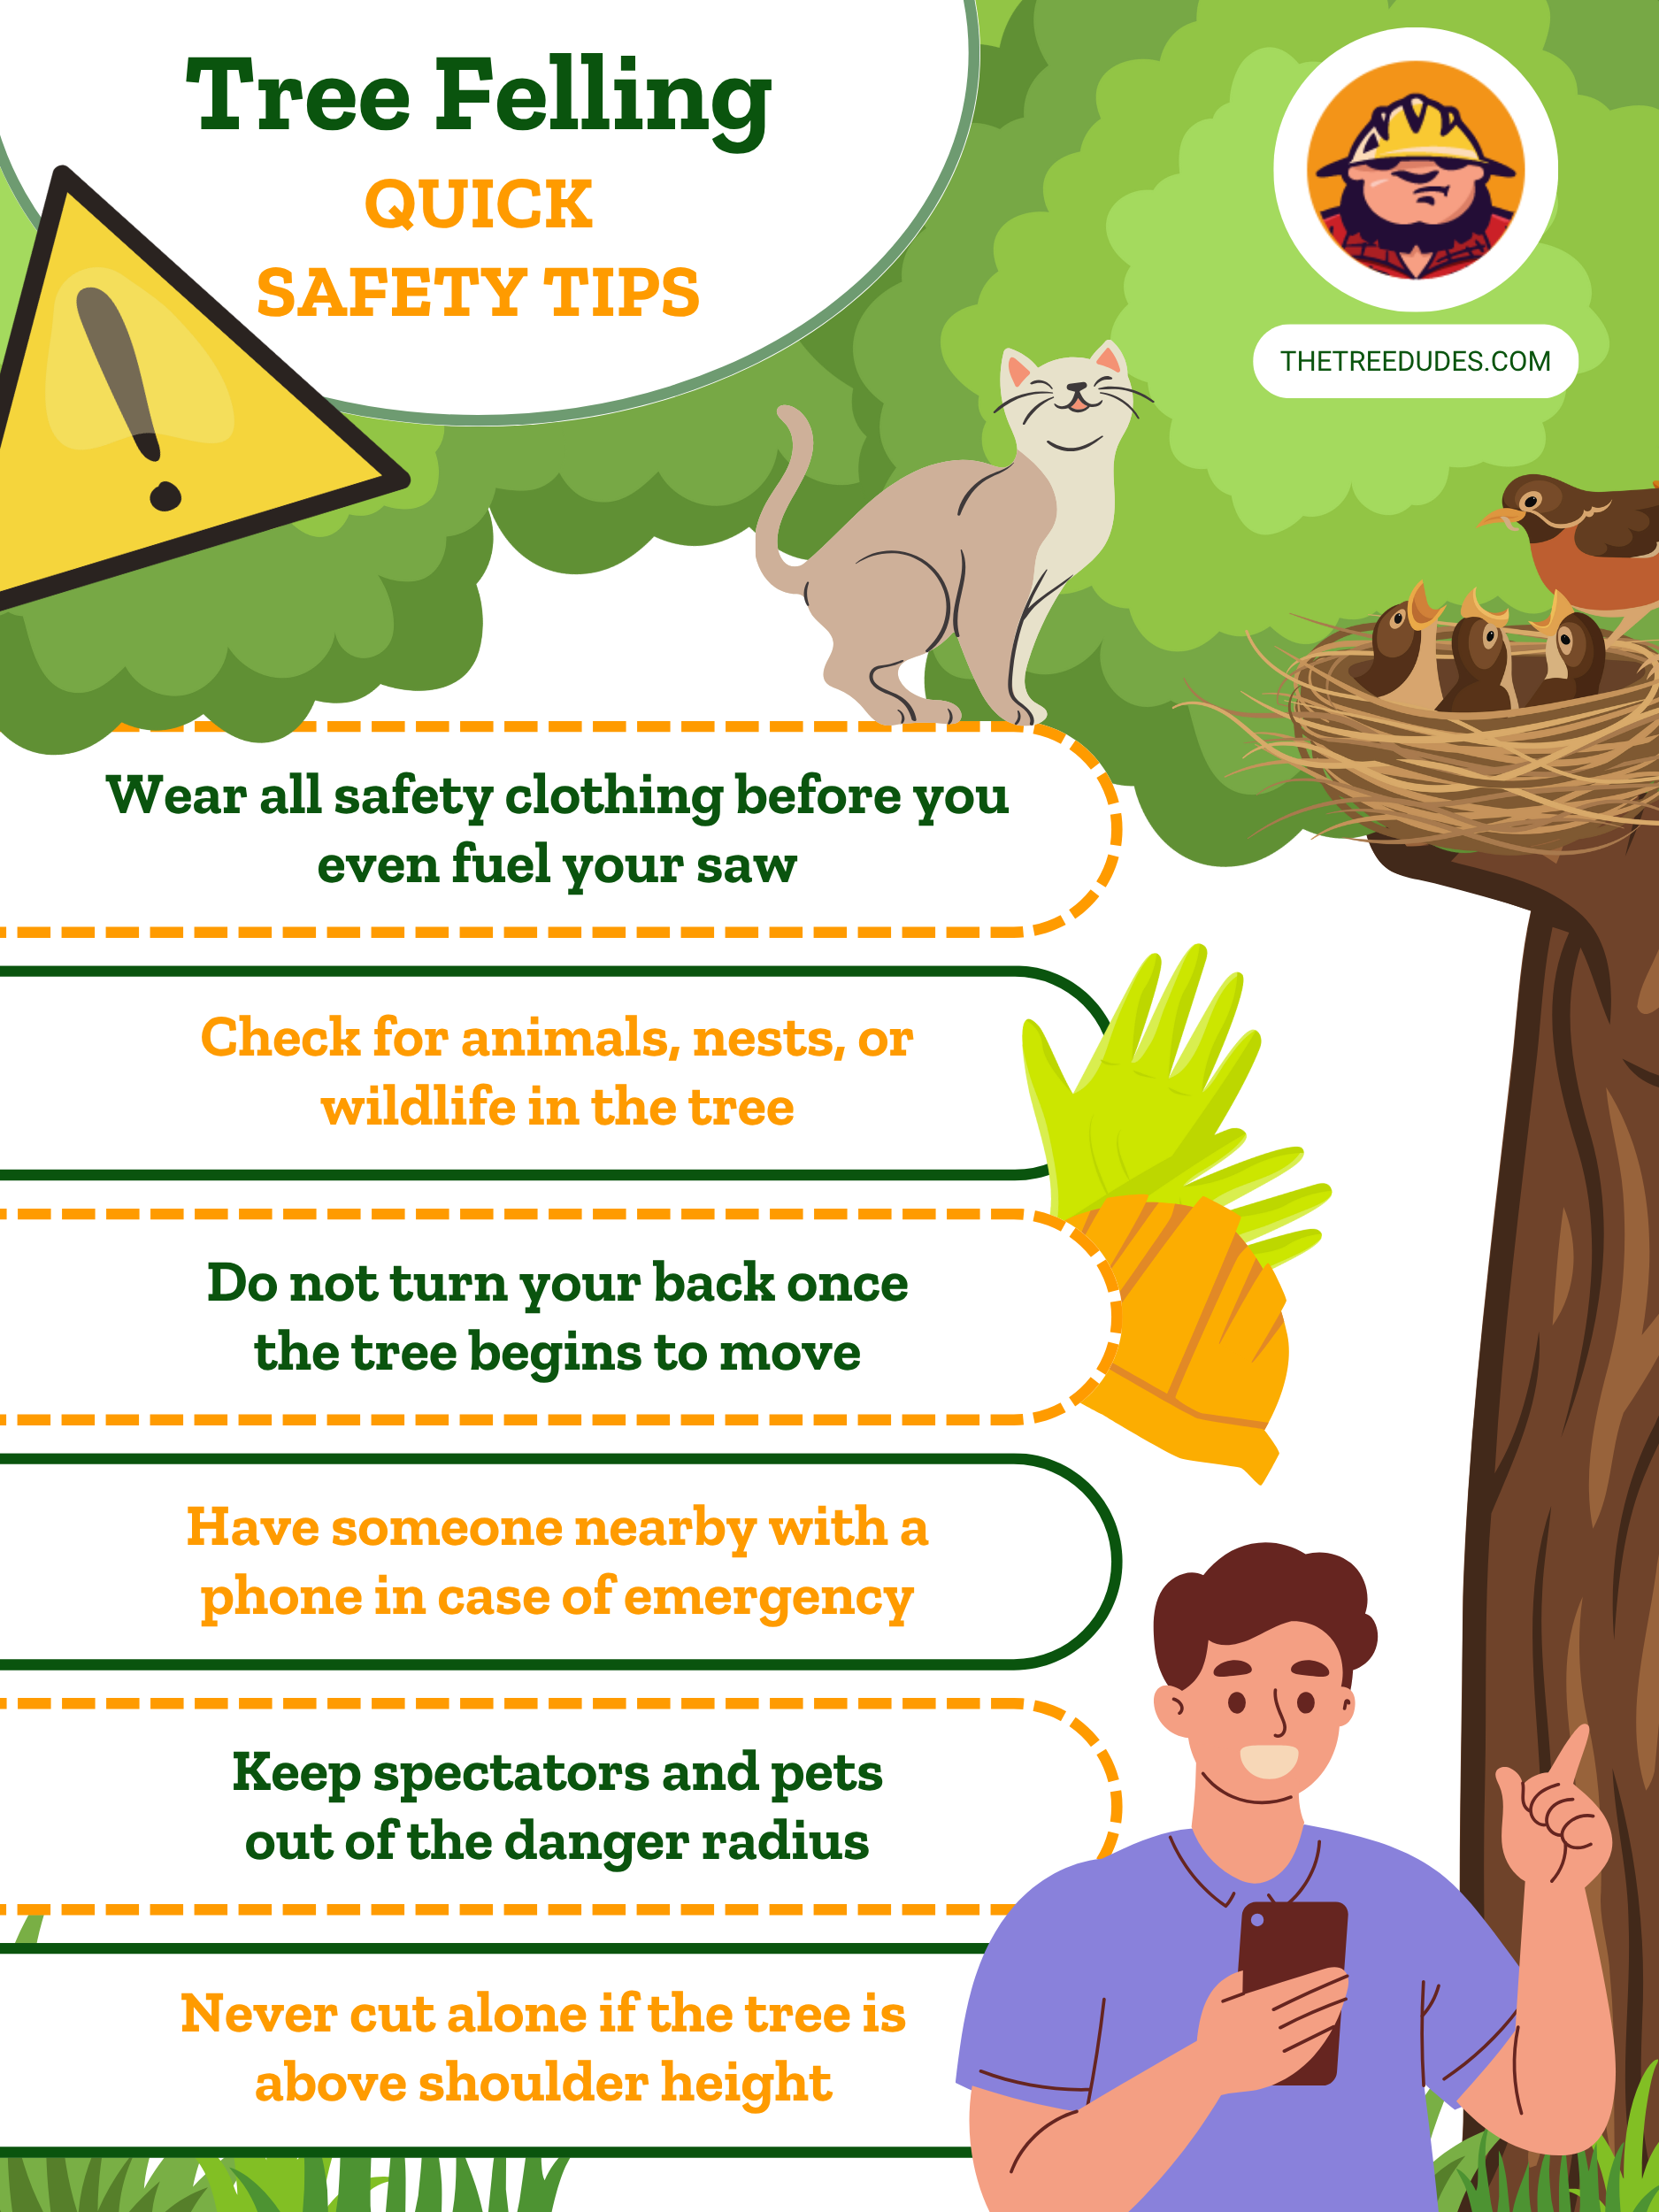
Before starting, equip yourself properly to minimize risks. Even experienced professionals do not skip this step. Safety equipment should always include:
- Safety Goggles or Visor: Protect your eyes from flying wood chips, dust, and debris.
- Ear Protection: Chainsaws produce significant noise, potentially causing hearing damage without proper protection.
- Heavy-Duty Gloves: Prevent cuts and improve grip on your equipment.
- Protective Steel Boots: Protect your feet from falling branches, logs, or unexpected slips.
- Helmet: Essential head protection against falling limbs or accidental bumps.
- Protective Trousers: Designed specifically to protect your legs in case of accidental chainsaw contact.
When you are picking out your safety gear, it is not just a smart move, but super important to make sure your tree removal project goes well and stays safe.
Clear Your Escape Routes
One of the most overlooked steps in the tree removal process is planning your escape routes. While you may have carefully measured your cuts and predicted the tree’s fall direction, nature has a way of reminding us that it does not always follow instructions. Wind gusts, hidden rot, or internal tension in the wood can cause a tree to shift or fall unpredictably.
That is why having at least two clear escape routes is the way to go. These should be located at roughly 45-degree angles from the direction in which you expect the tree to fall. This ensures that no matter what happens, you have a safe way out, quickly and without hesitation.
Tips for Setting Up Reliable Escape Routes
Planning escape routes ahead of time is a simple act of precaution that can prevent serious injury and allow you to proceed with confidence.
- Remove Any Ground-Level Hazards: Clear away brush, rocks, fallen branches, or tangled roots that could trip you up in an emergency.
- Mentally Rehearse Your Exit: Visualize yourself moving swiftly along each path. If it feels awkward or cramped, it is not safe enough yet.
- Keep Equipment Out of the Way: Place your tools and gear well off to the side. You do not want to scramble for safety only to trip over your chainsaw or helmet.
- Mark Your Paths if Needed: Especially on uneven or forested terrain, it can help to mark your escape routes with tape or natural indicators to avoid confusion in the moment.
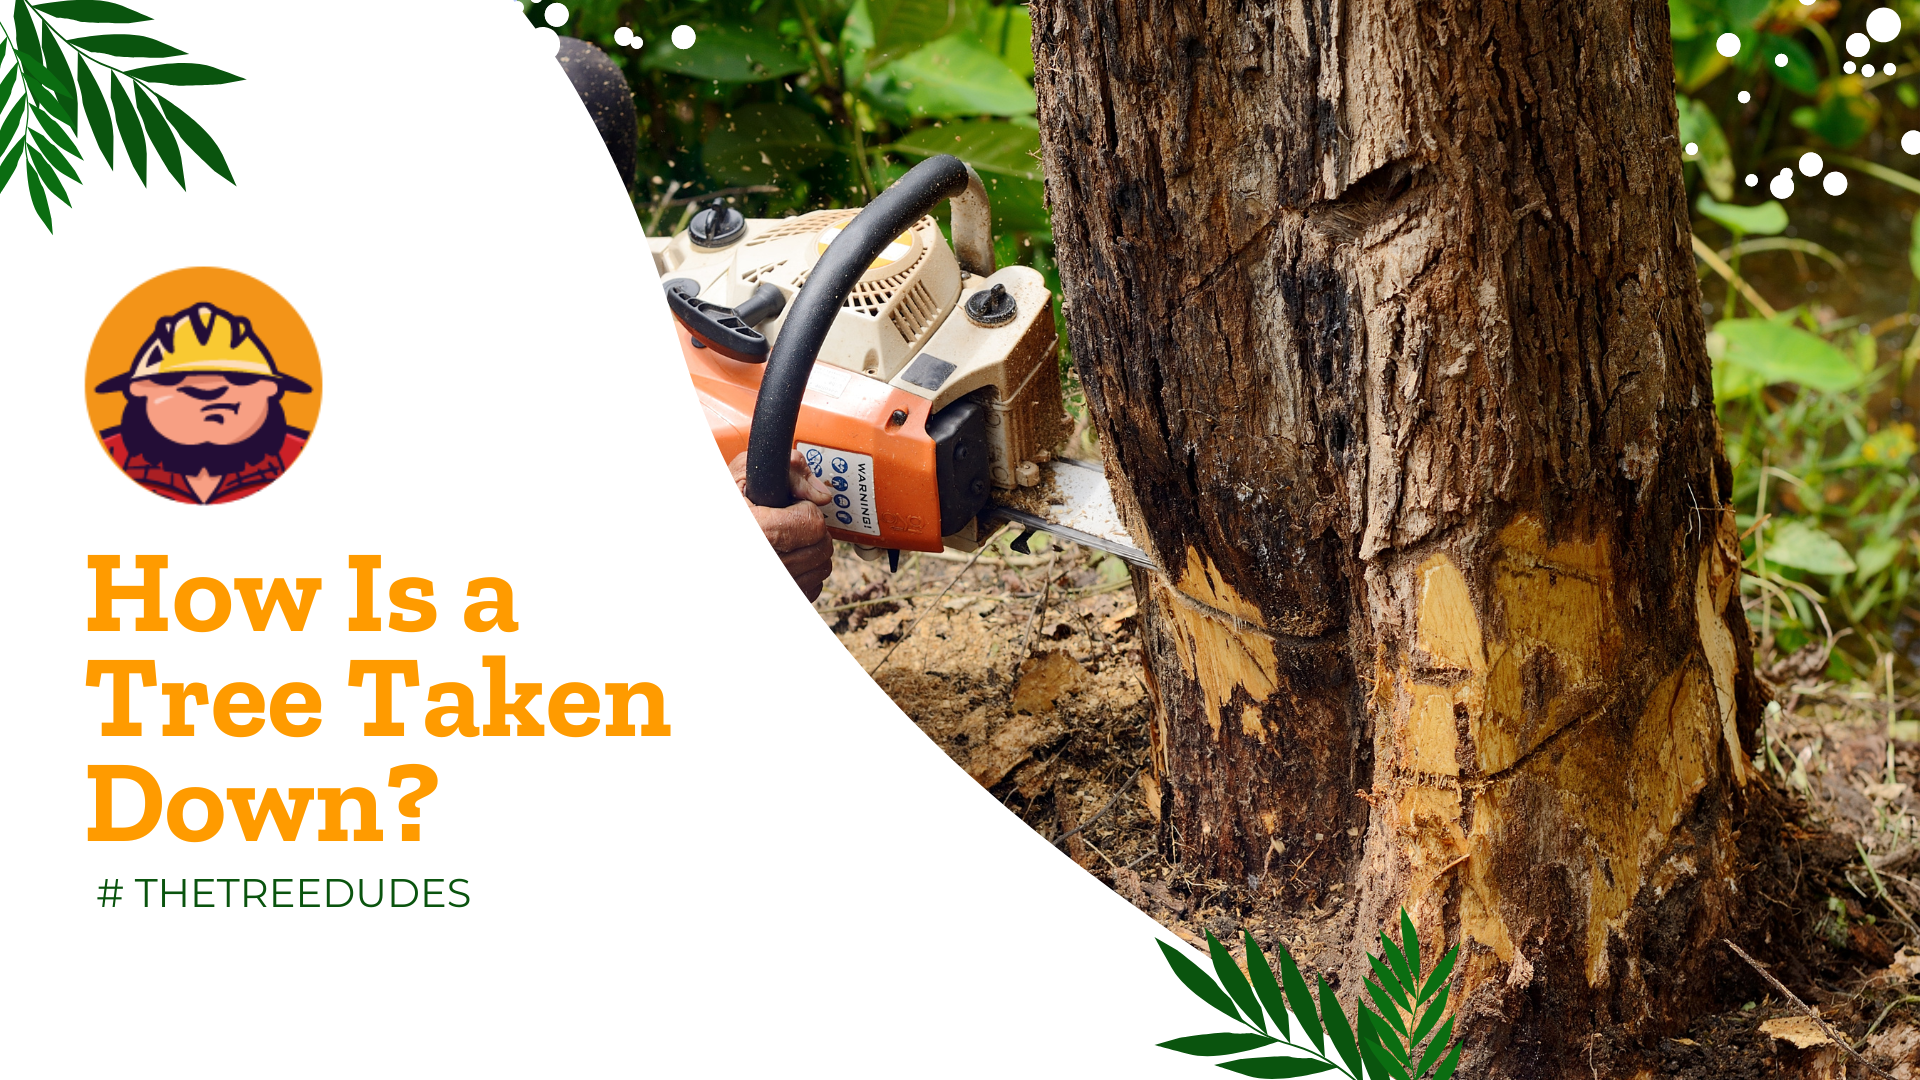
Making the Felling Cut
Now we have arrived at the most critical and technical part of the tree removal process. This is not the moment for improvisation or guesswork. Think of it as doing focused, smart work that brings together physics, timing, and technique for a smooth finish. When done correctly, it is less brute force and more a graceful collaboration with gravity.
Create the Notch Cut
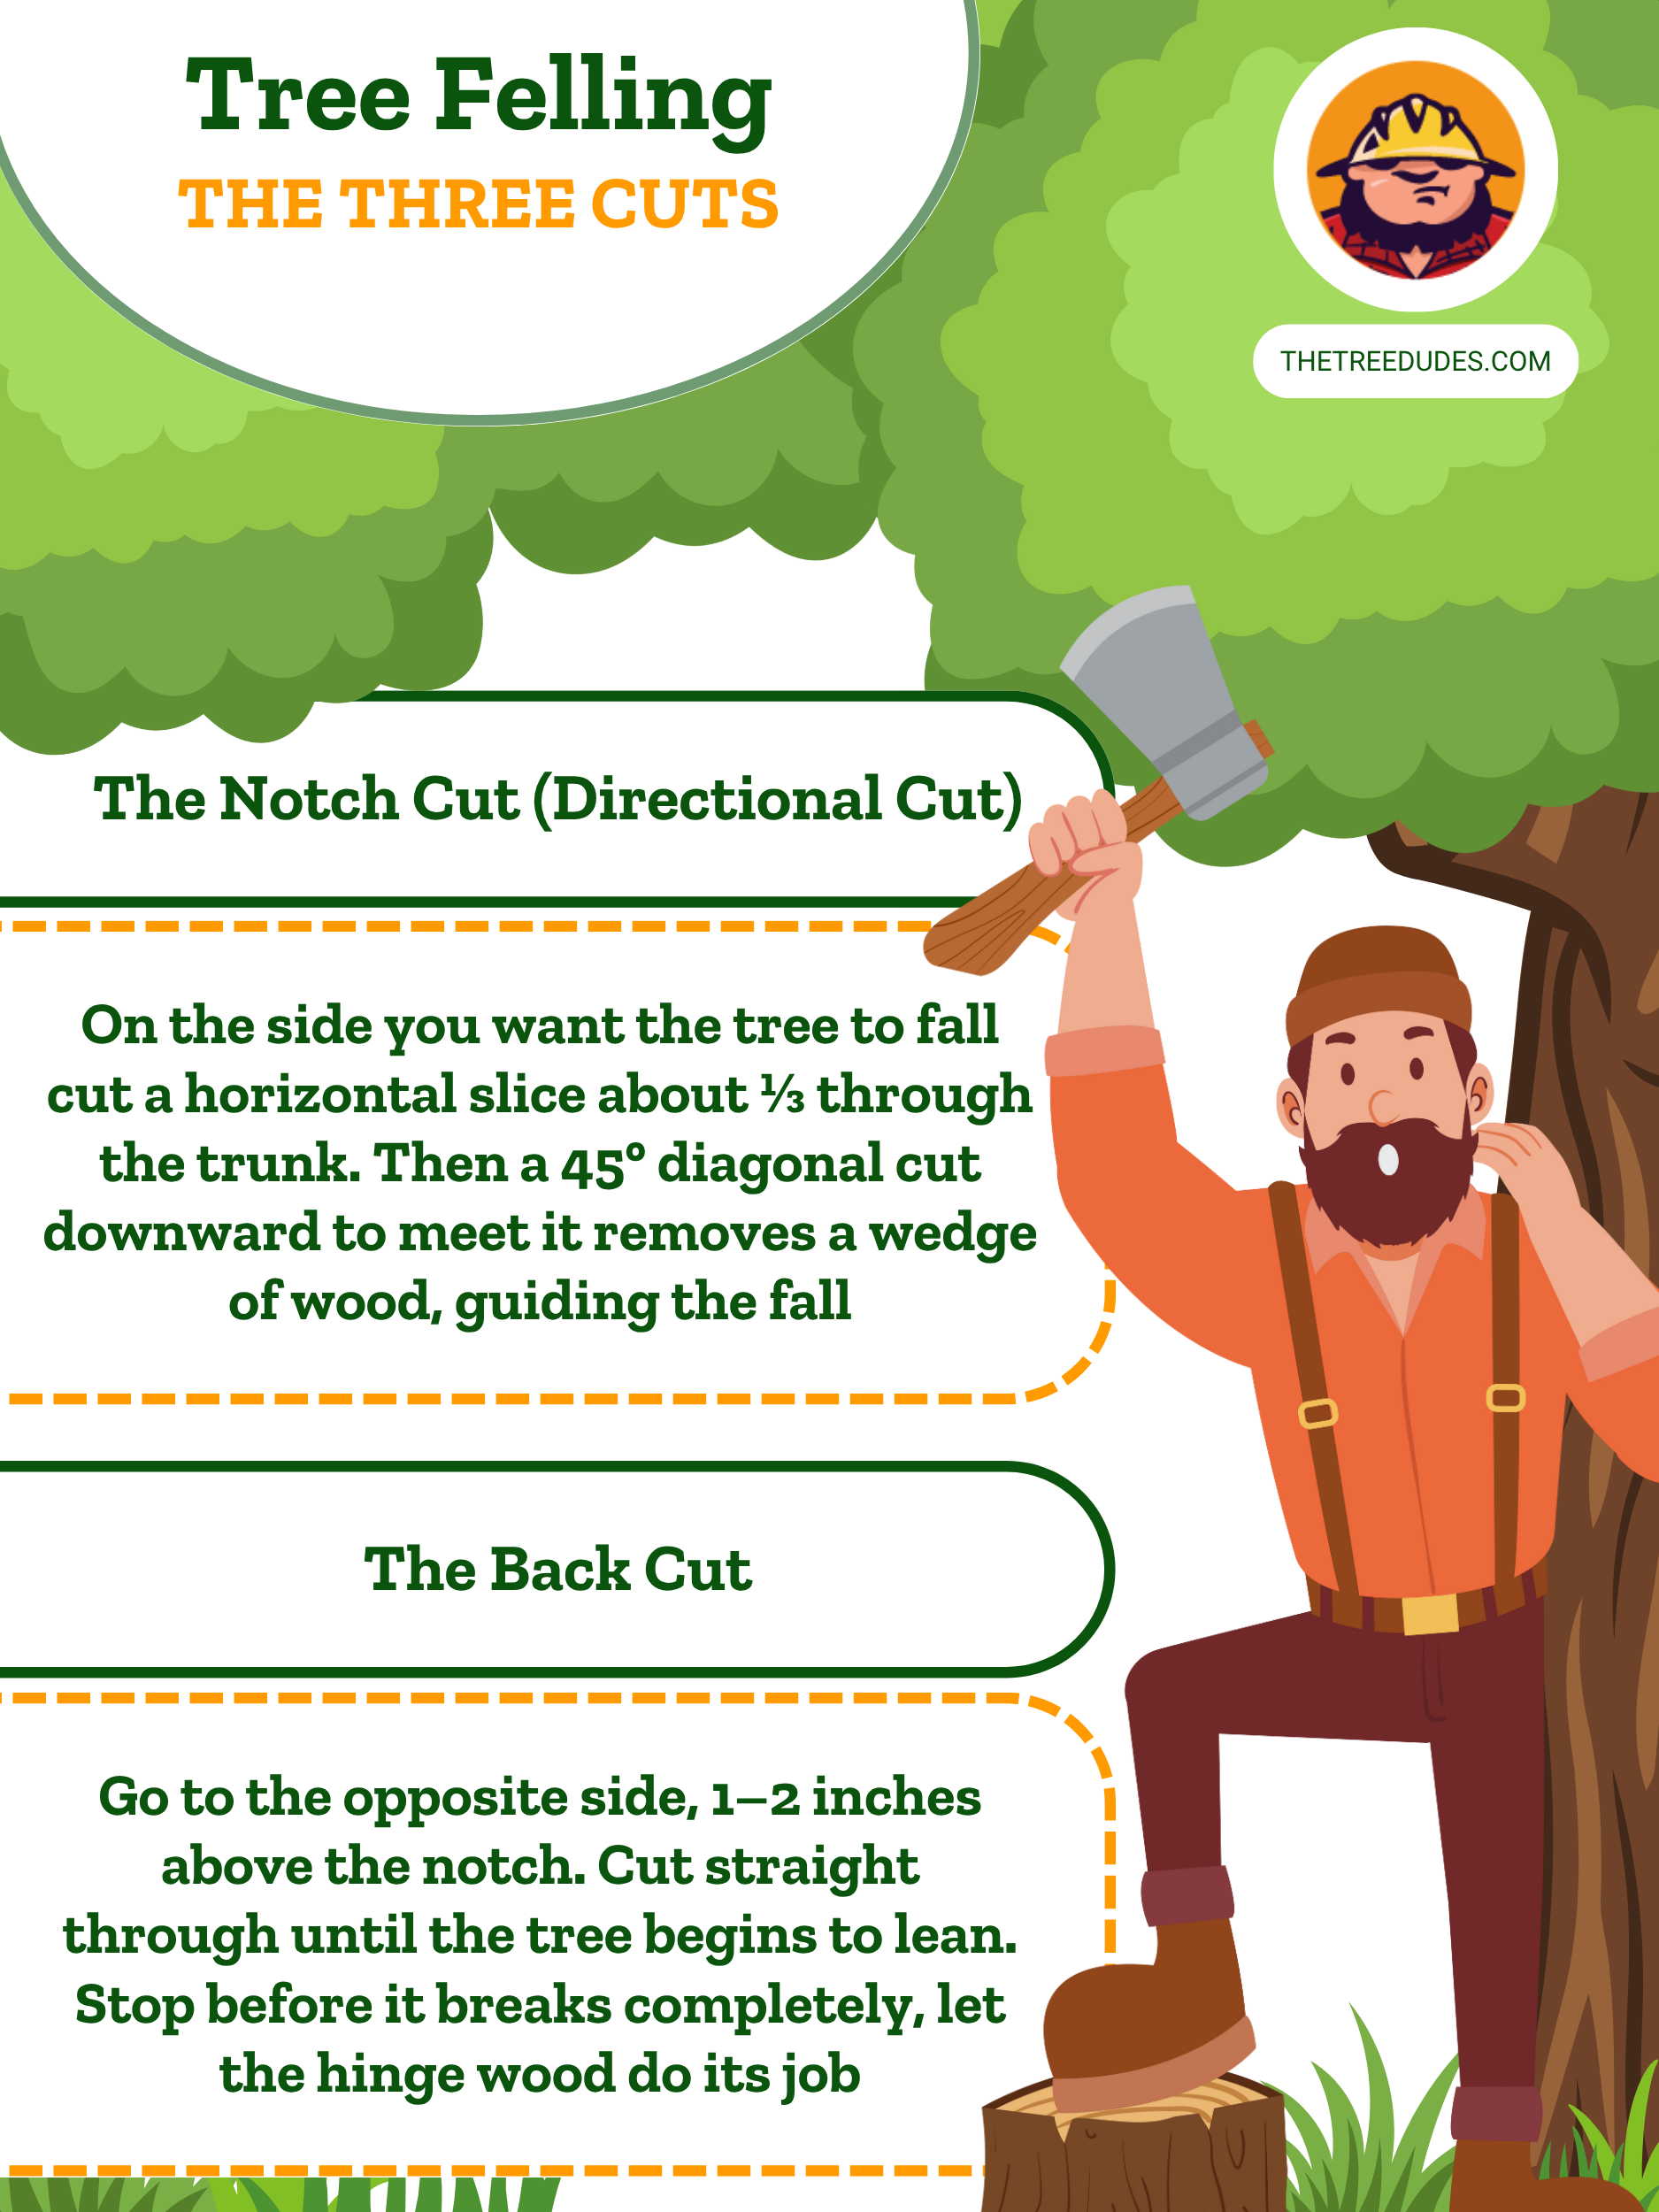
Begin on the side of the trunk that faces the direction you want the tree to fall. This cut is like a little guide, sort of like a compass showing the tree where it should go. Make a horizontal cut about a quarter of the way into the tree trunk. Make sure this cut stays level and steady, it is what sets up your notch.
Then, make an angled cut, typically about 45 degrees, downward to meet the horizontal cut. If you get it right, the two cuts should meet nicely and create a notch that faces the direction the tree’s going to fall. The notch essentially “tells” the tree where to fall. It also allows the tree to begin its lean in a controlled way, minimizing kickbacks or unpredictable movement.
Execute the Felling Cut
Now, move around to the opposite side of the trunk, directly behind the notch. This is where you will make the horizontal cut that lets the tree fall. Begin about 2 inches above the bottom of your notch cut to preserve what is known as the “hinge wood.” Cut straight across, parallel to the ground, stopping once you are a few inches away from the notch.
Initiate the Fall
Once you have completed the felling cut and the tree begins to lean, step back immediately along one of your escape routes. Do not linger. This is not the time to admire your work up close.
Stay alert, watch for falling limbs, shifting branches, or recoil at the base. If everything has been done correctly, you will see the tree tip gracefully into the direction of your notch, landing with a satisfying crash exactly where you planned.
Cutting a Tree Piece by Piece
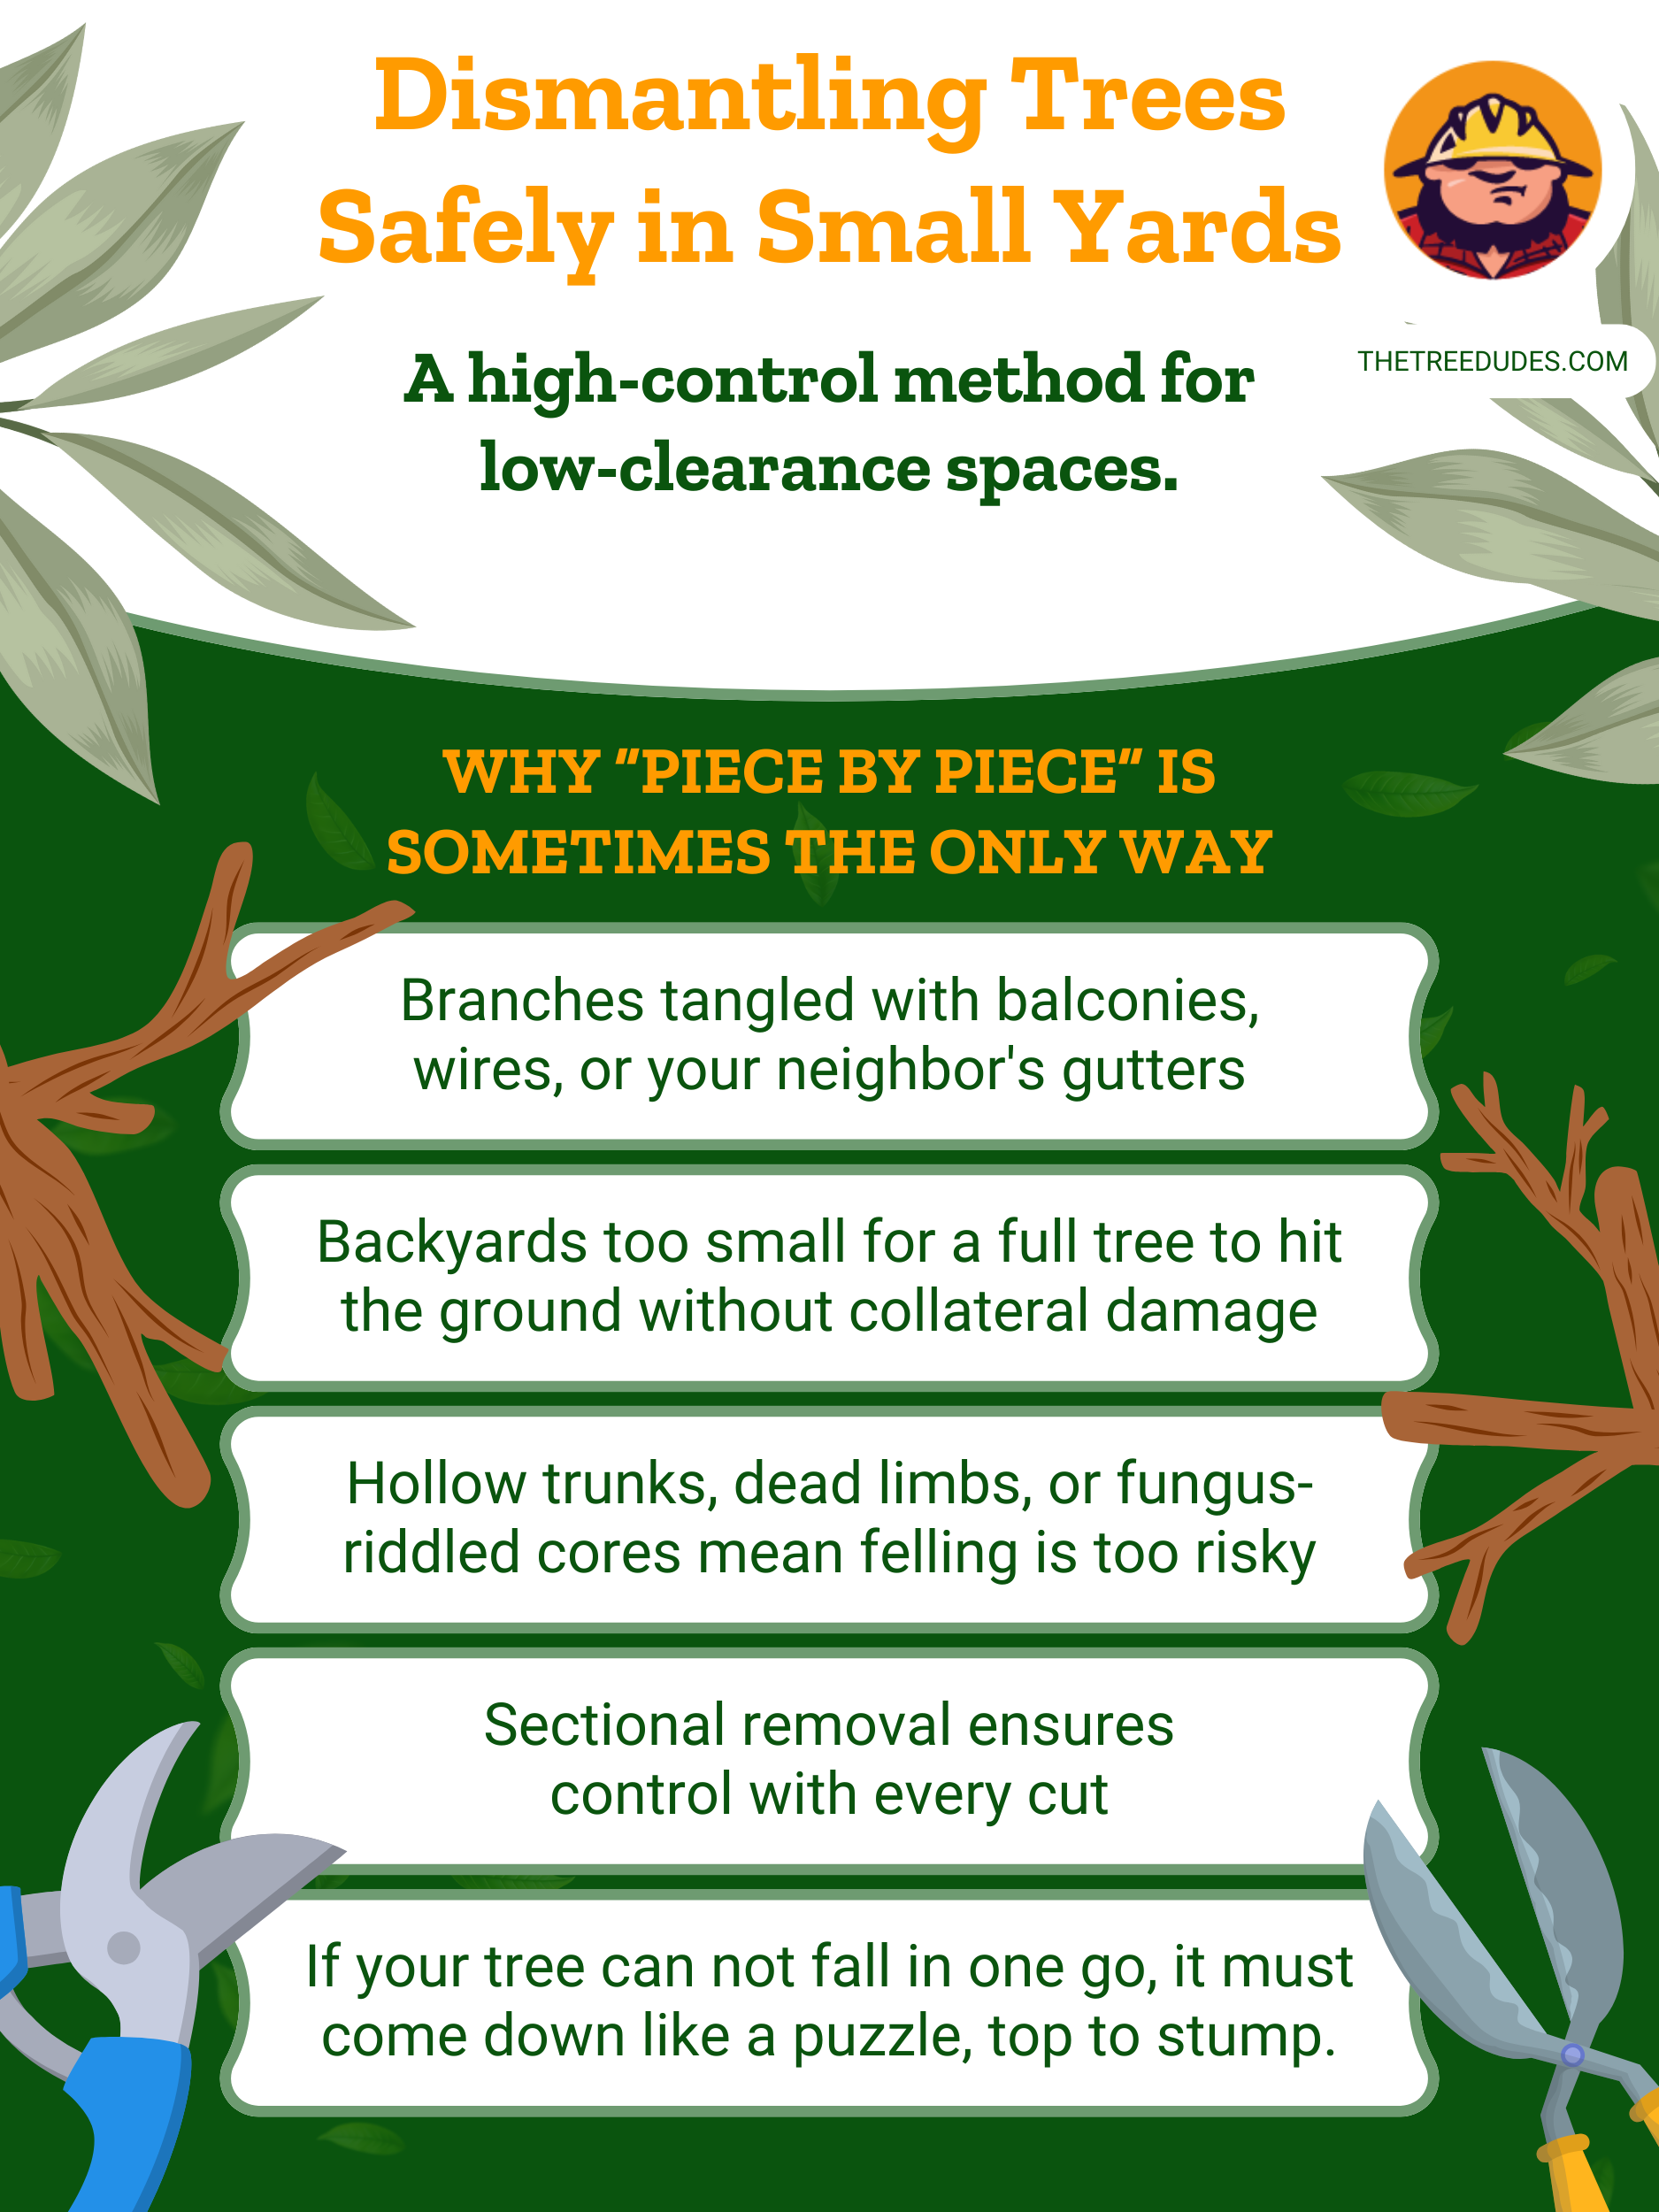
While most tutorials on tree removal start and end with a clean felling cut, reality, as always, is messier. Especially in urban or suburban yards where space is limited, structures are nearby, and the risk of property damage is high, the luxury of dropping a tree in one swoop is simply not an option. In these cases, cutting a tree piece by piece becomes not only the safest approach, but often the only feasible one. This method does not use brute force, it is more about patience, control, and calculated decisions.
Considerations Before Starting
Several critical elements must be considered before making the first cut. Cutting a tree down in sections is slower and requires more technical care than a traditional felling operation.
Proximity to Structures
- Is the tree near your house, your neighbor’s fence, or overhanging a shed or garage?
- Are there any overhead power lines nearby?
- Do vehicles or foot traffic frequently pass under or near the canopy?
If the answer to any of these is yes, you are in the right mindset to avoid a costly mistake. Tree sections do not fall straight down like cartoon logs, they tumble, twist, and bounce. Without proper planning, even a small branch can crack a window or dent a roof.
Tree Health
- Is the tree structurally sound, or is it rotting from the inside?
- Are the limbs sturdy enough to support your weight (if climbing is involved)?
- Are there visible signs of disease or pest infestation?
Unstable trees require extra caution. Weak limbs may snap prematurely, and decay can lead to unexpected collapse during cuts. If you are uncertain about a tree’s internal health, calling in a certified arborist for an assessment is a wise move.
Your Experience Level
This is not a job for beginners. Even with proper tools, working at such height or dismantling heavy limbs requires not only physical skill but an understanding of how trees react to being cut. If you are unsure at any point, step back. Tree removal is one of the most dangerous tasks in landscaping for a reason.
The Cutting Process
If you are in this step, it means you have taken the needed precautions and have the correct tools to do this task. The cutting process must be methodical, with every cut being deliberate.
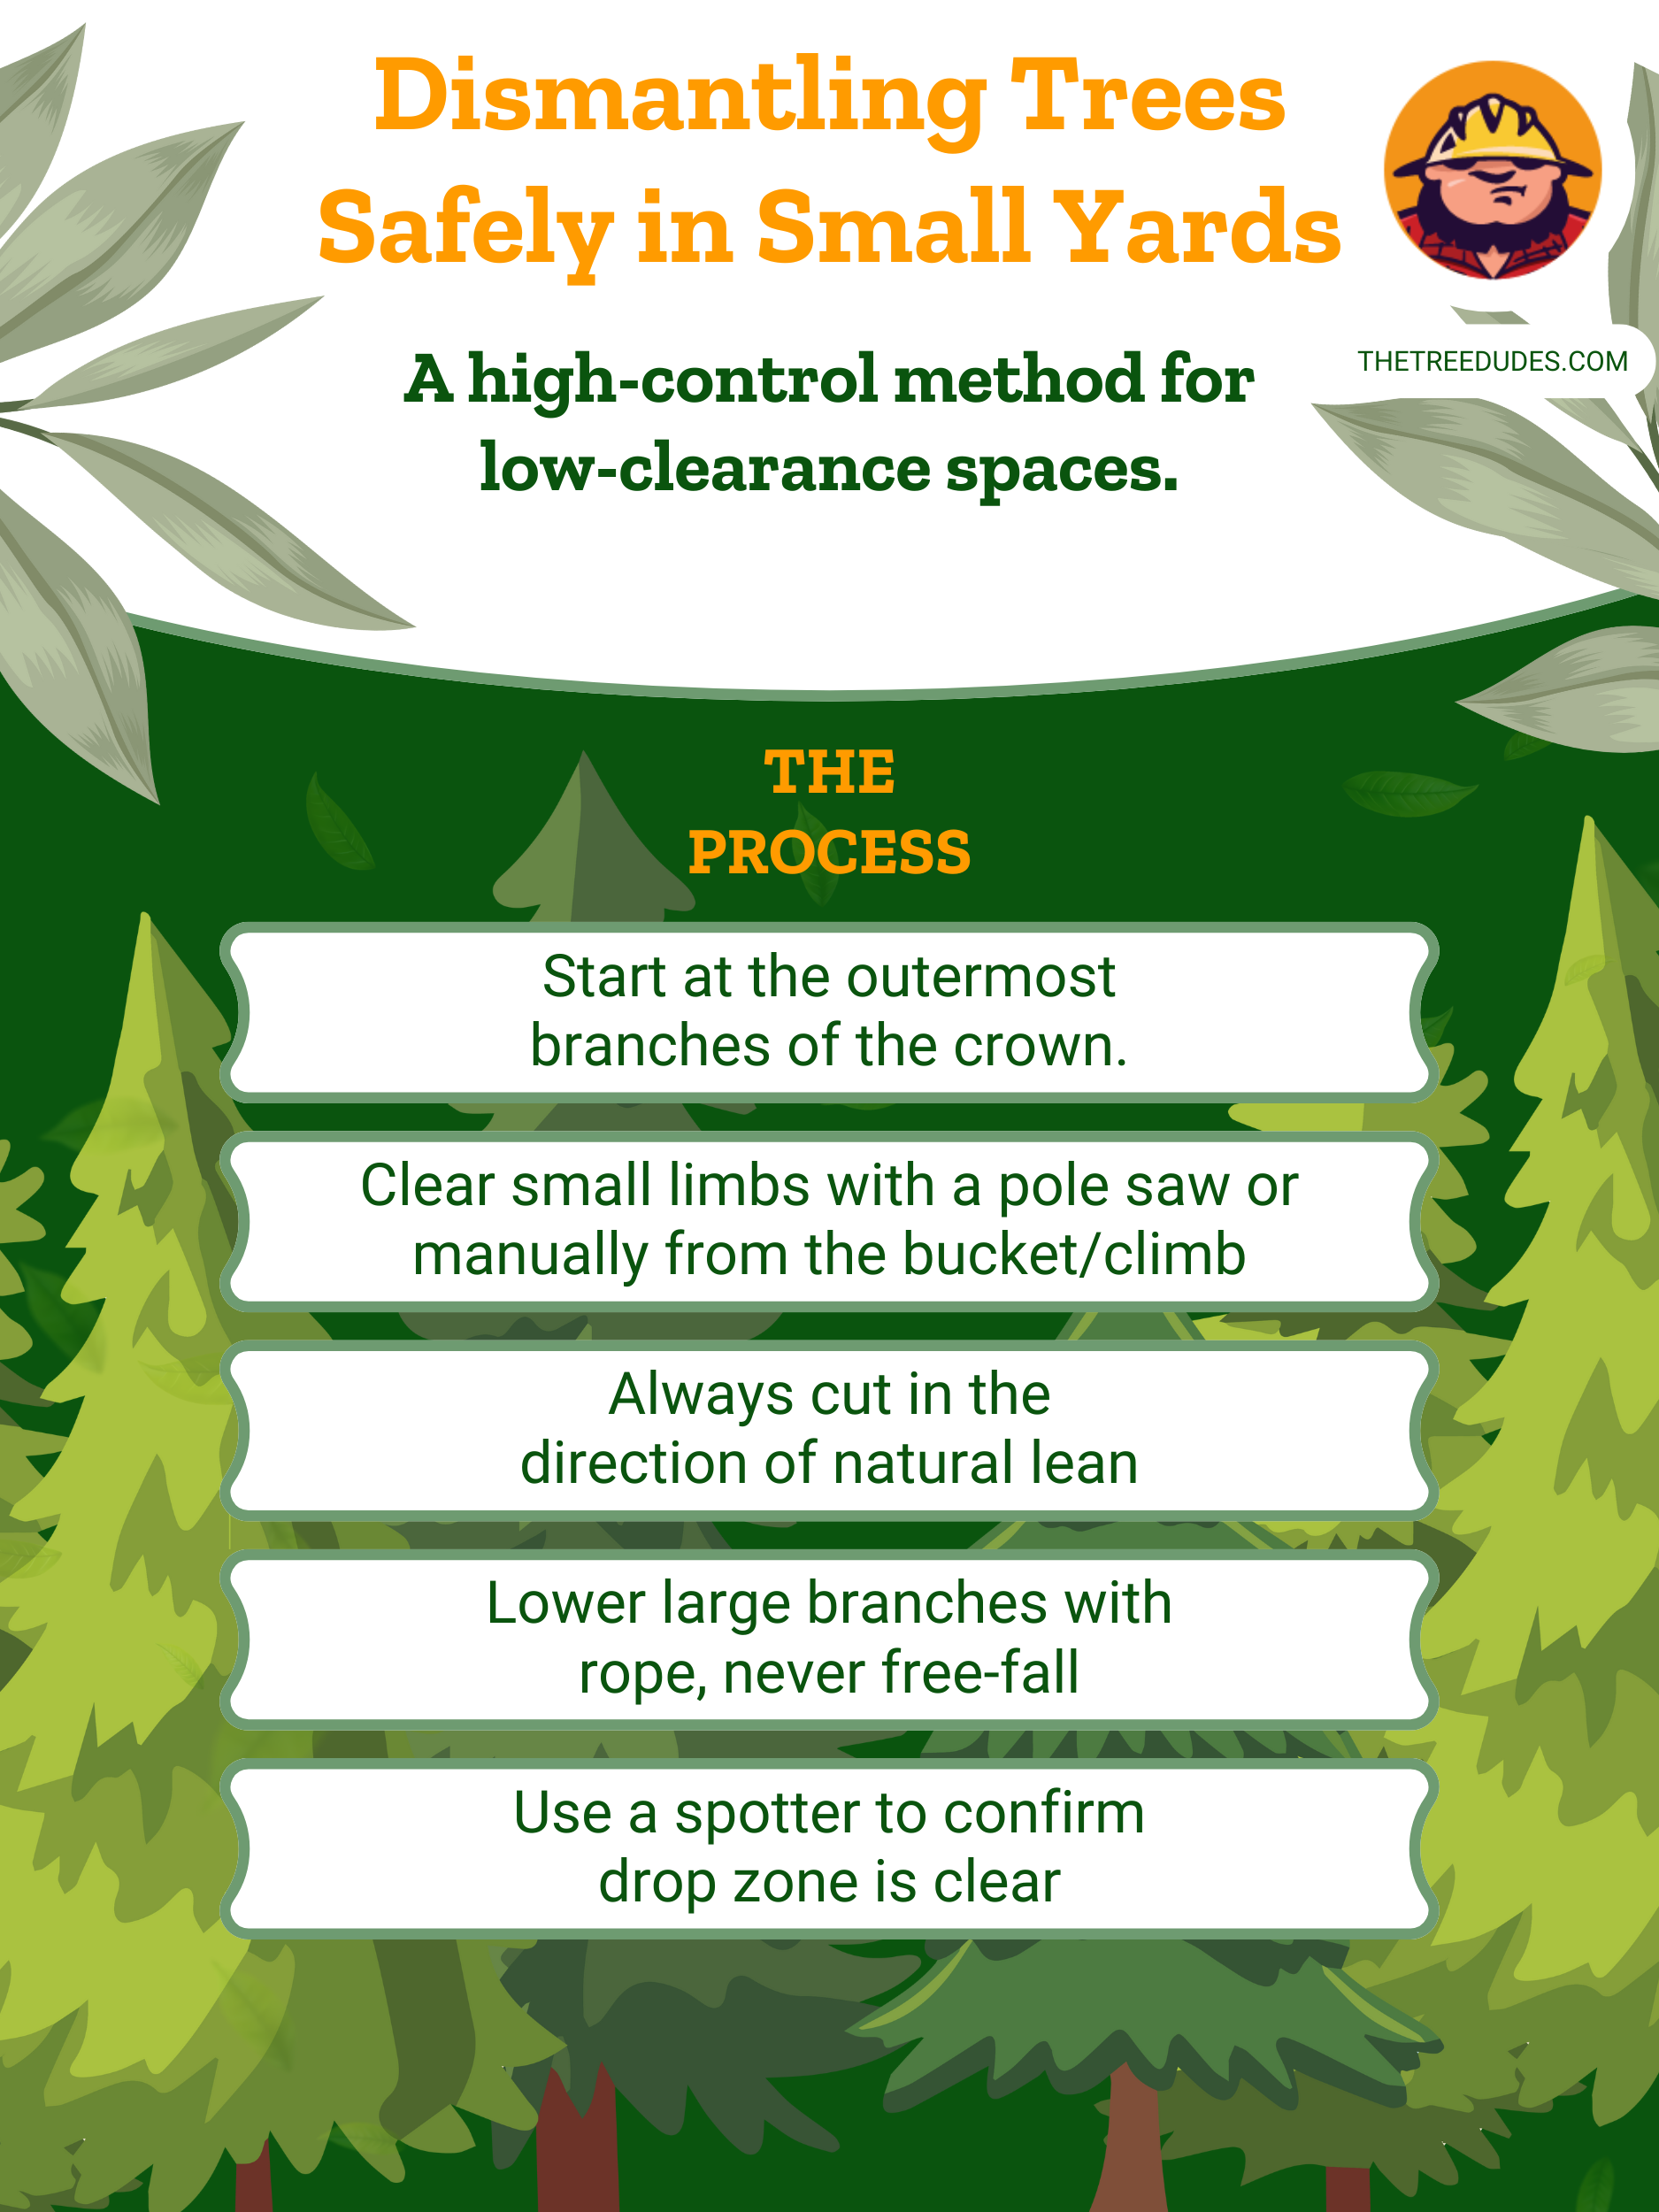
The Canopy
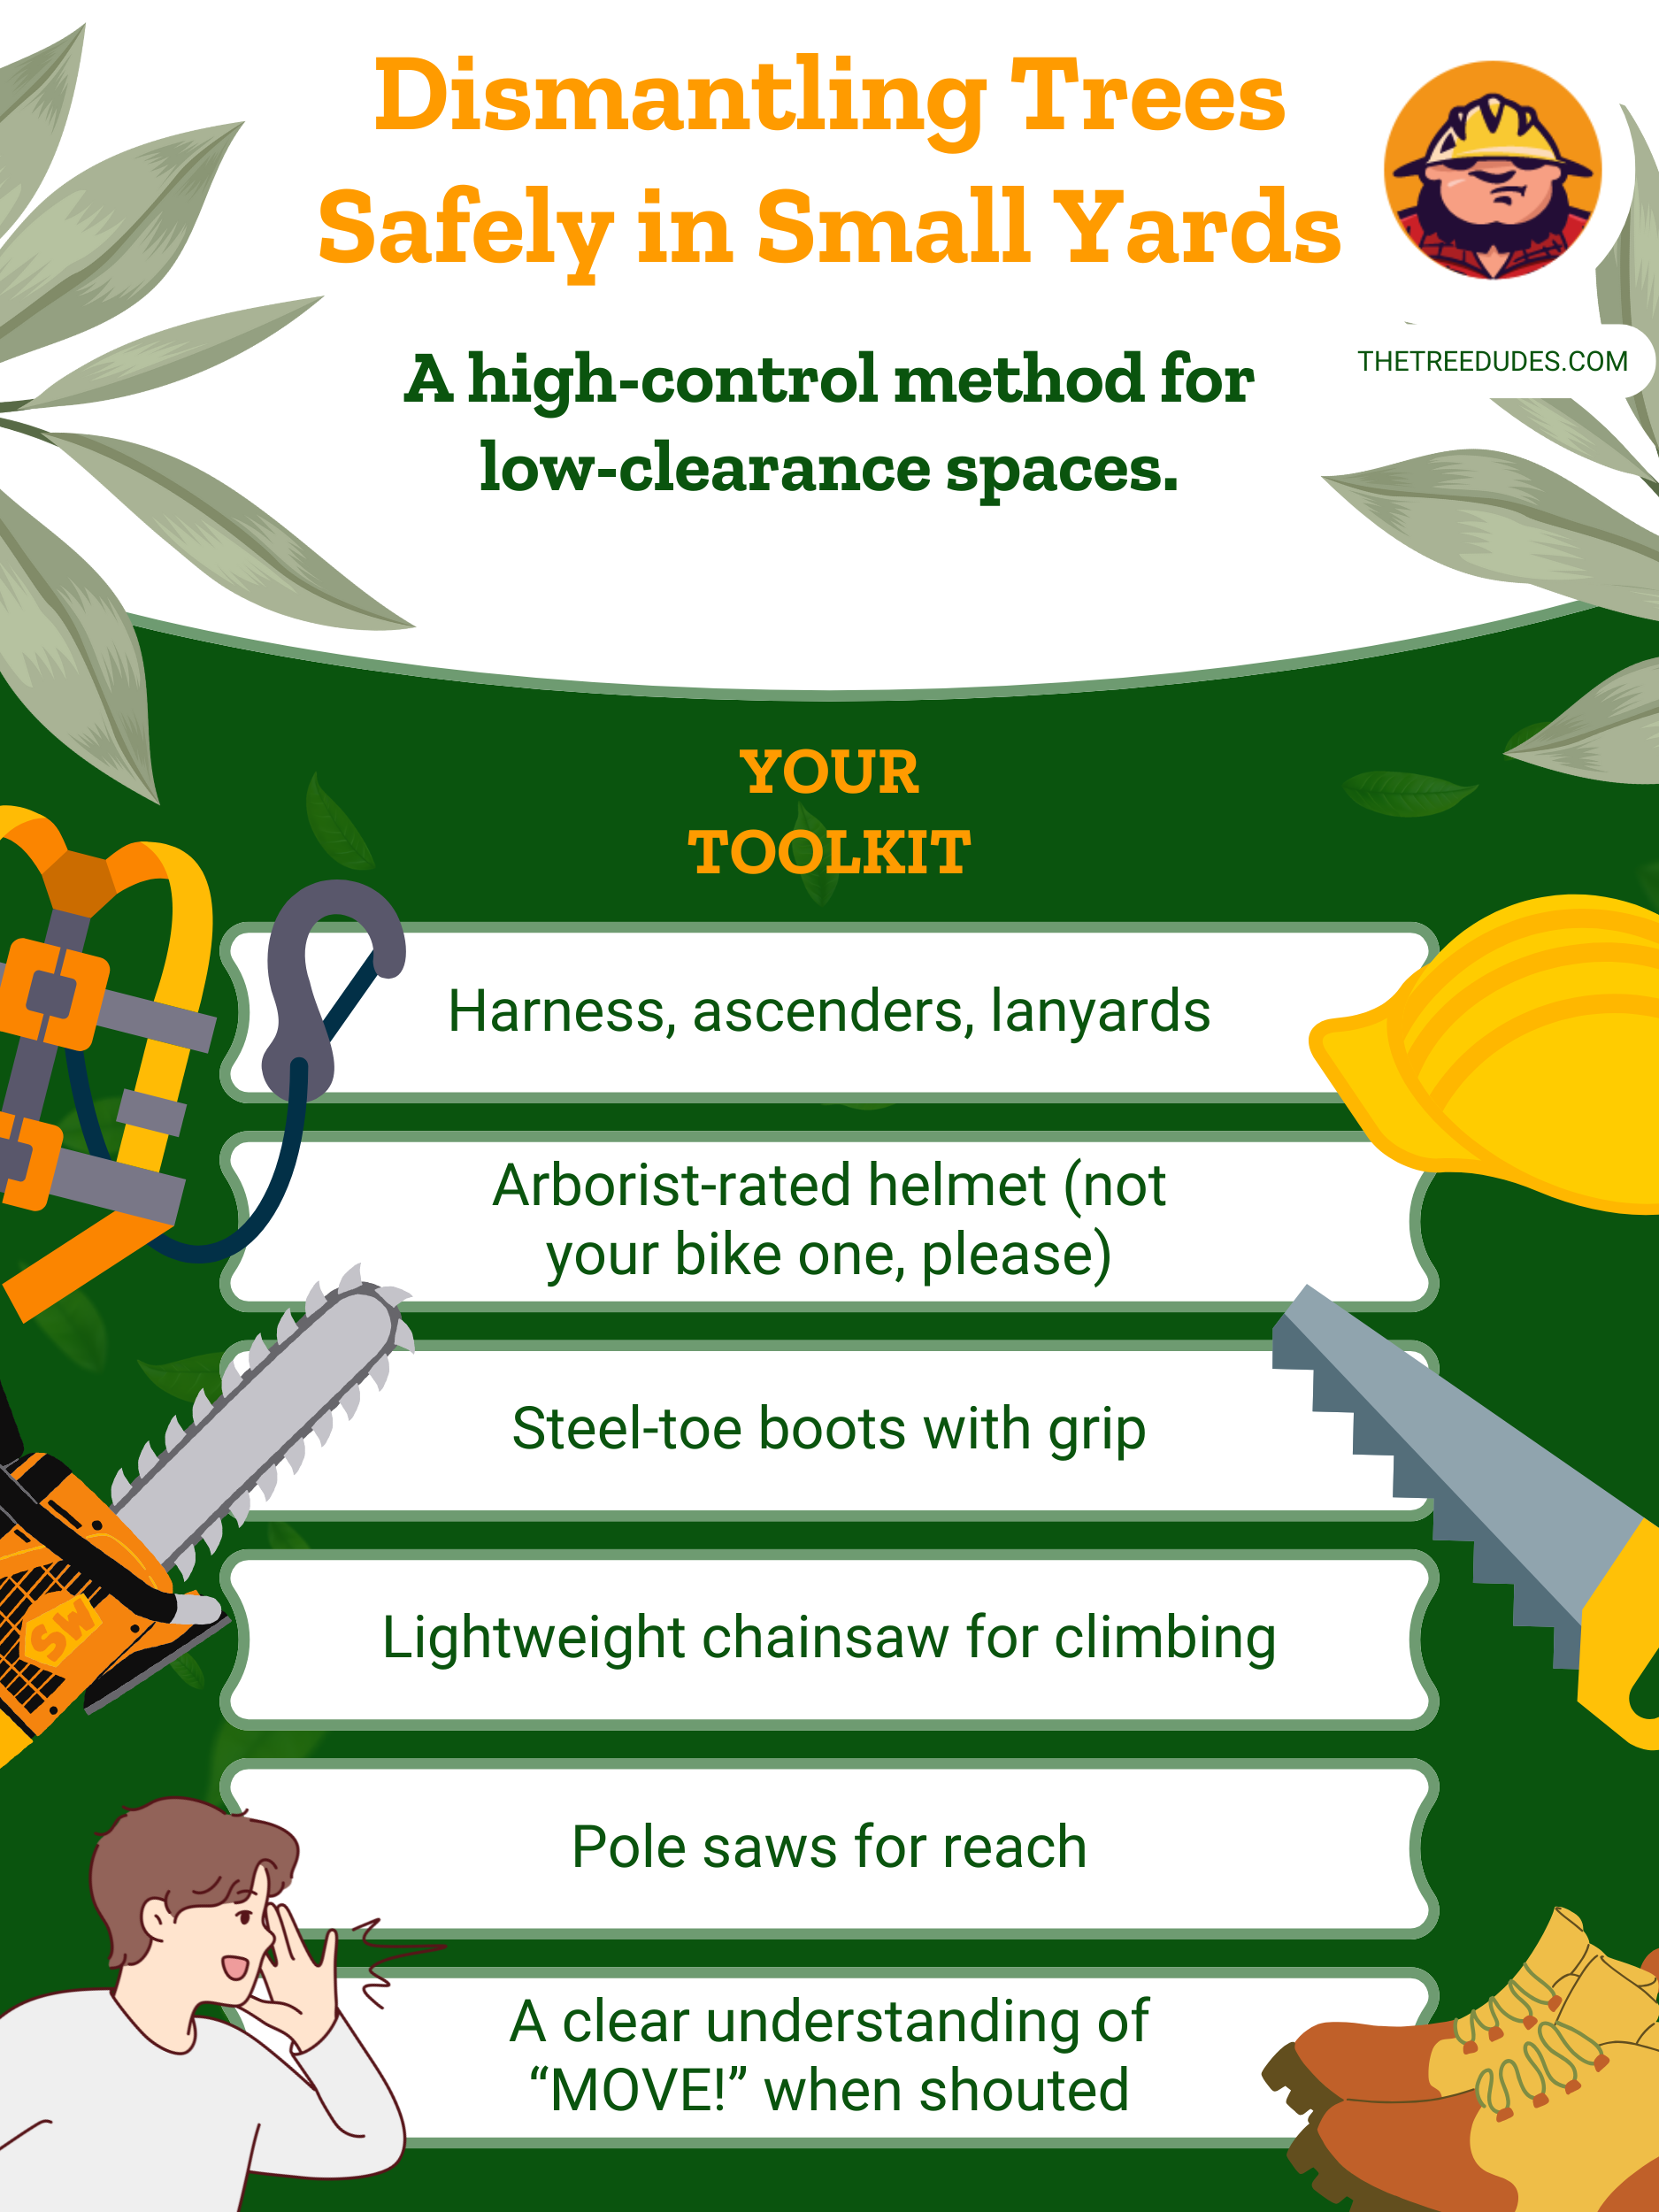
Start with the small branches at the top and outer edges of the canopy. Use a pole saw or climb as safely as possible with your harness. Remove light limbs first to open up visibility up there. Always make cuts at the branch to avoid damaging the tree’s integrity until you are ready to take down its main trunk. Lower each limb with a rope if it hangs over sensitive or risky areas. Never throw or drop branches from a high height unless you have a clear, protected landing zone below without any pets or kids running around.
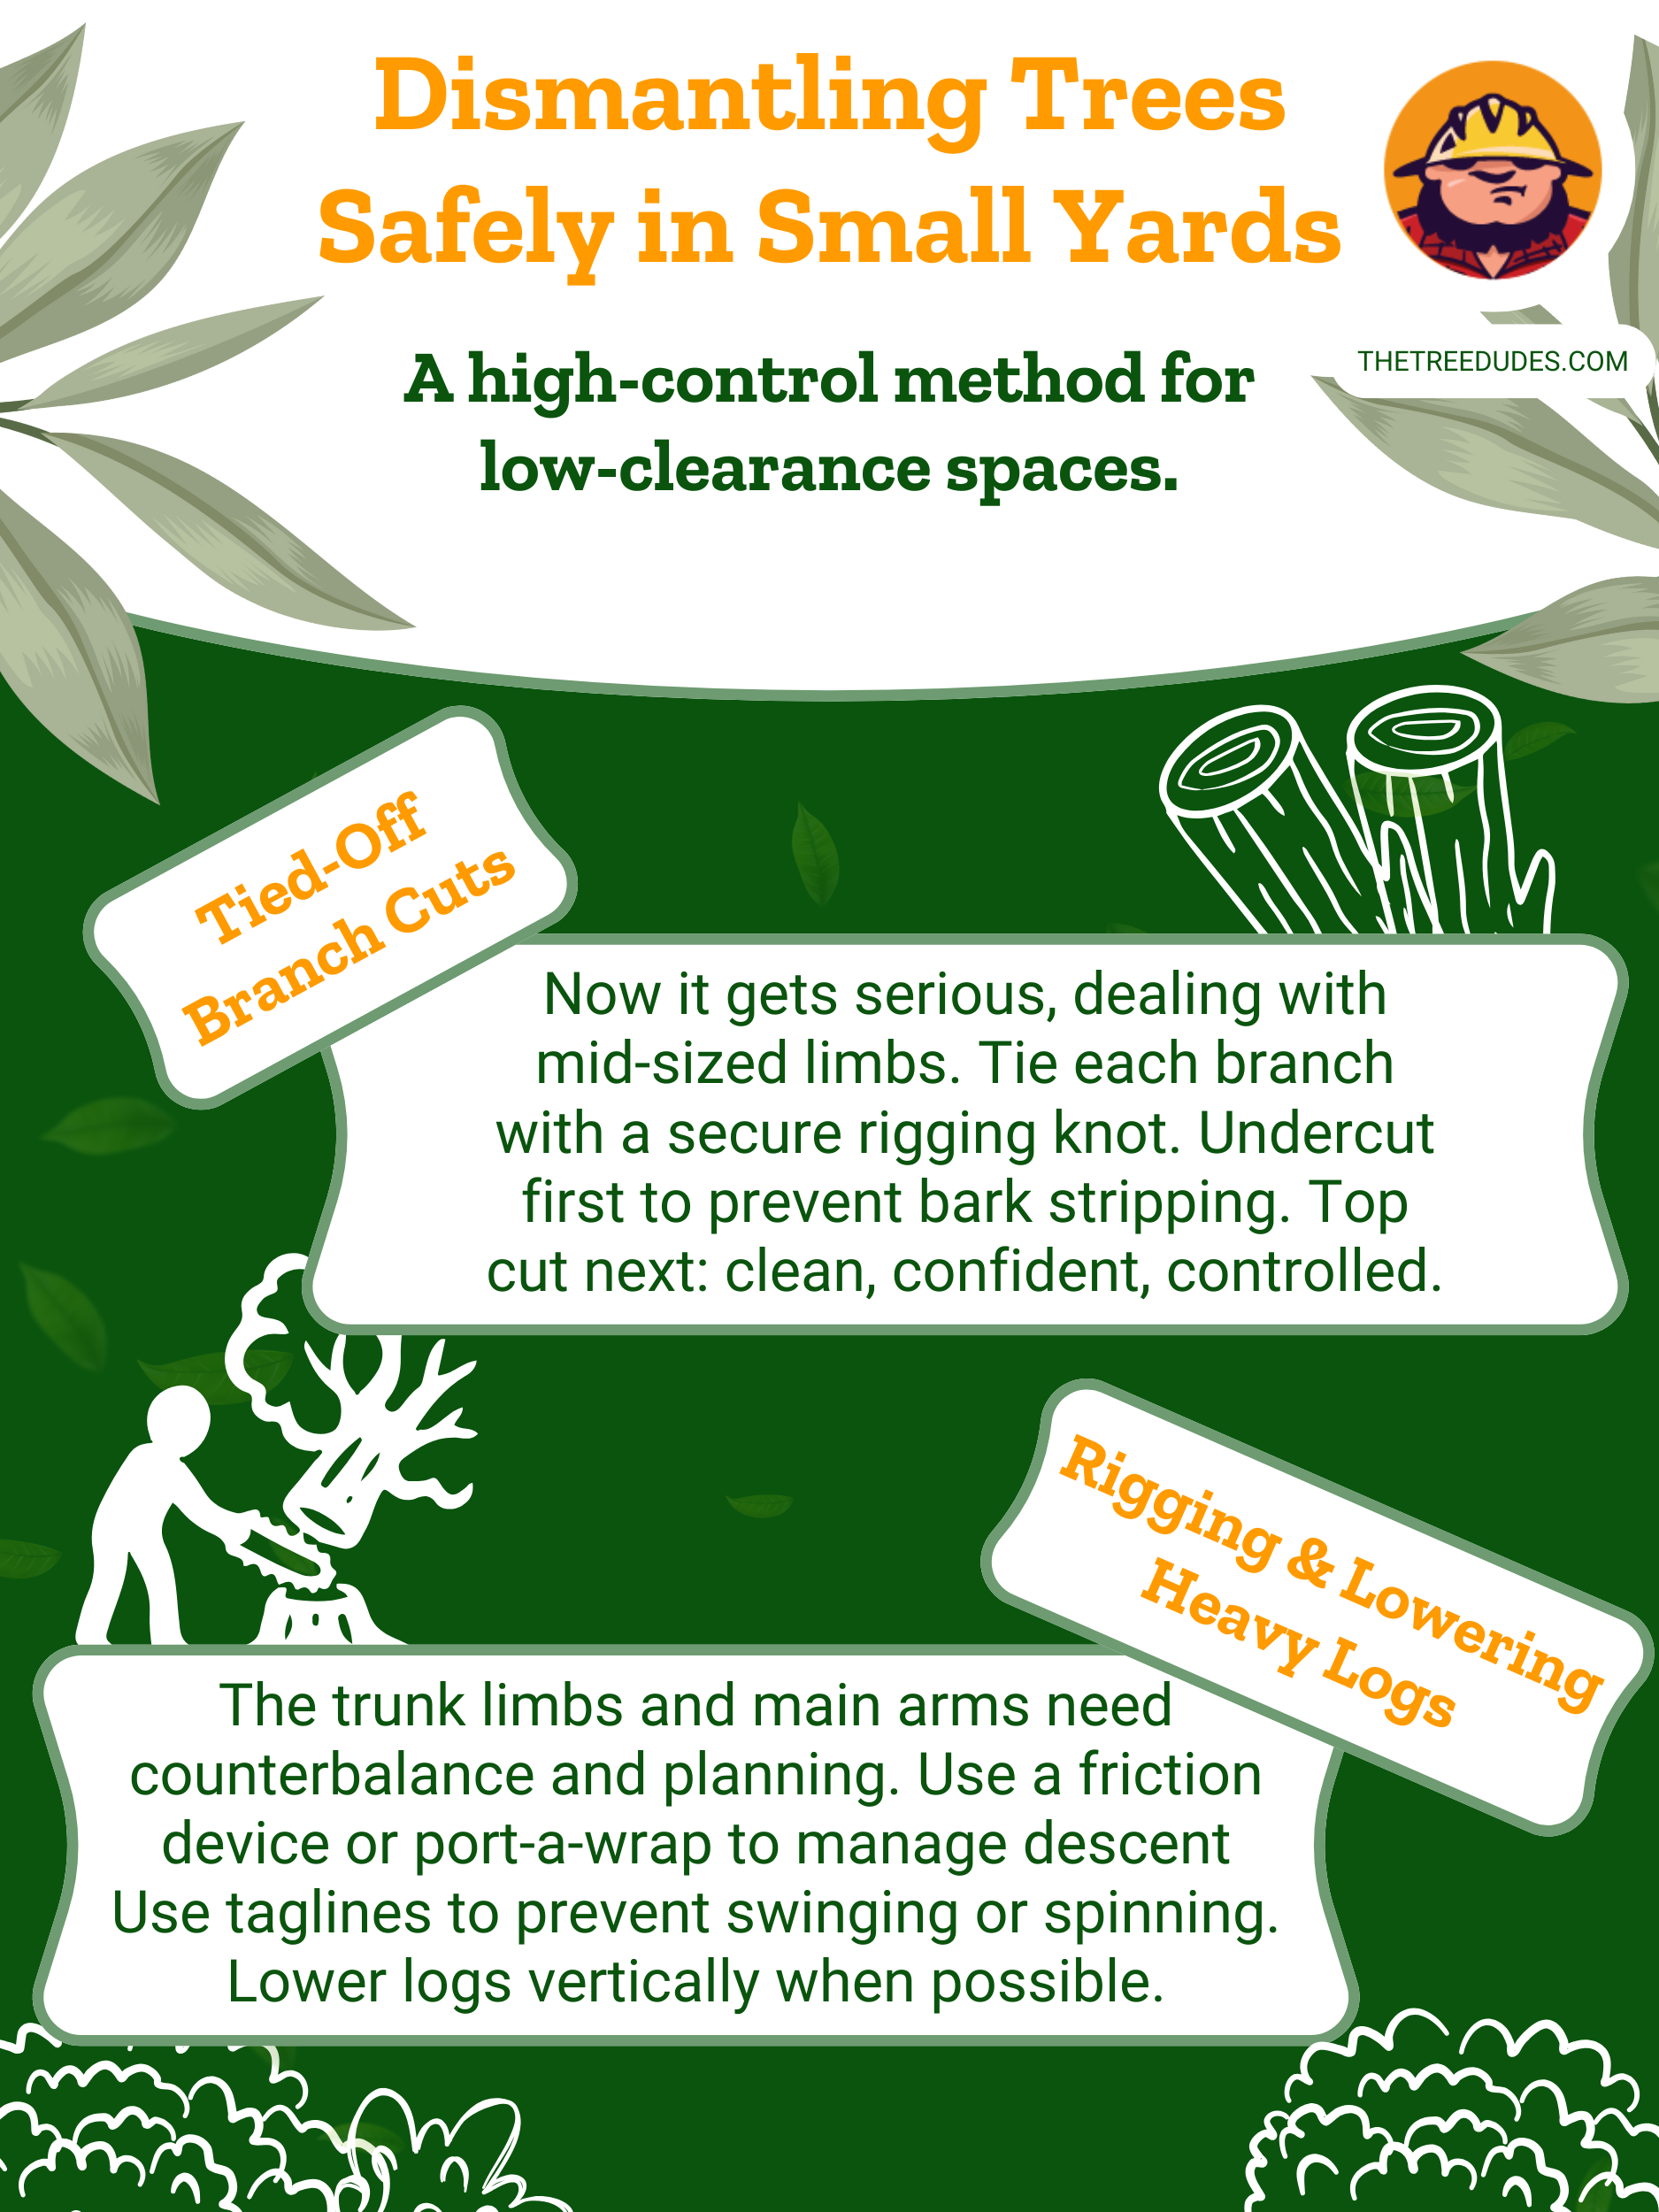
Sectioning Larger Limbs
Now that the small limbs are cleared, move to the larger branches. Use rigging ropes to tie off the section being cut. Make a small undercut first, about a third of the way through, on the bottom side of the limb. This prevents bark tearing. Then make the top cut a few inches beyond the undercut. Control the descent of each piece with your ropes and a partner on the ground. Repeat this process evenly around the tree to avoid unbalancing the structure.
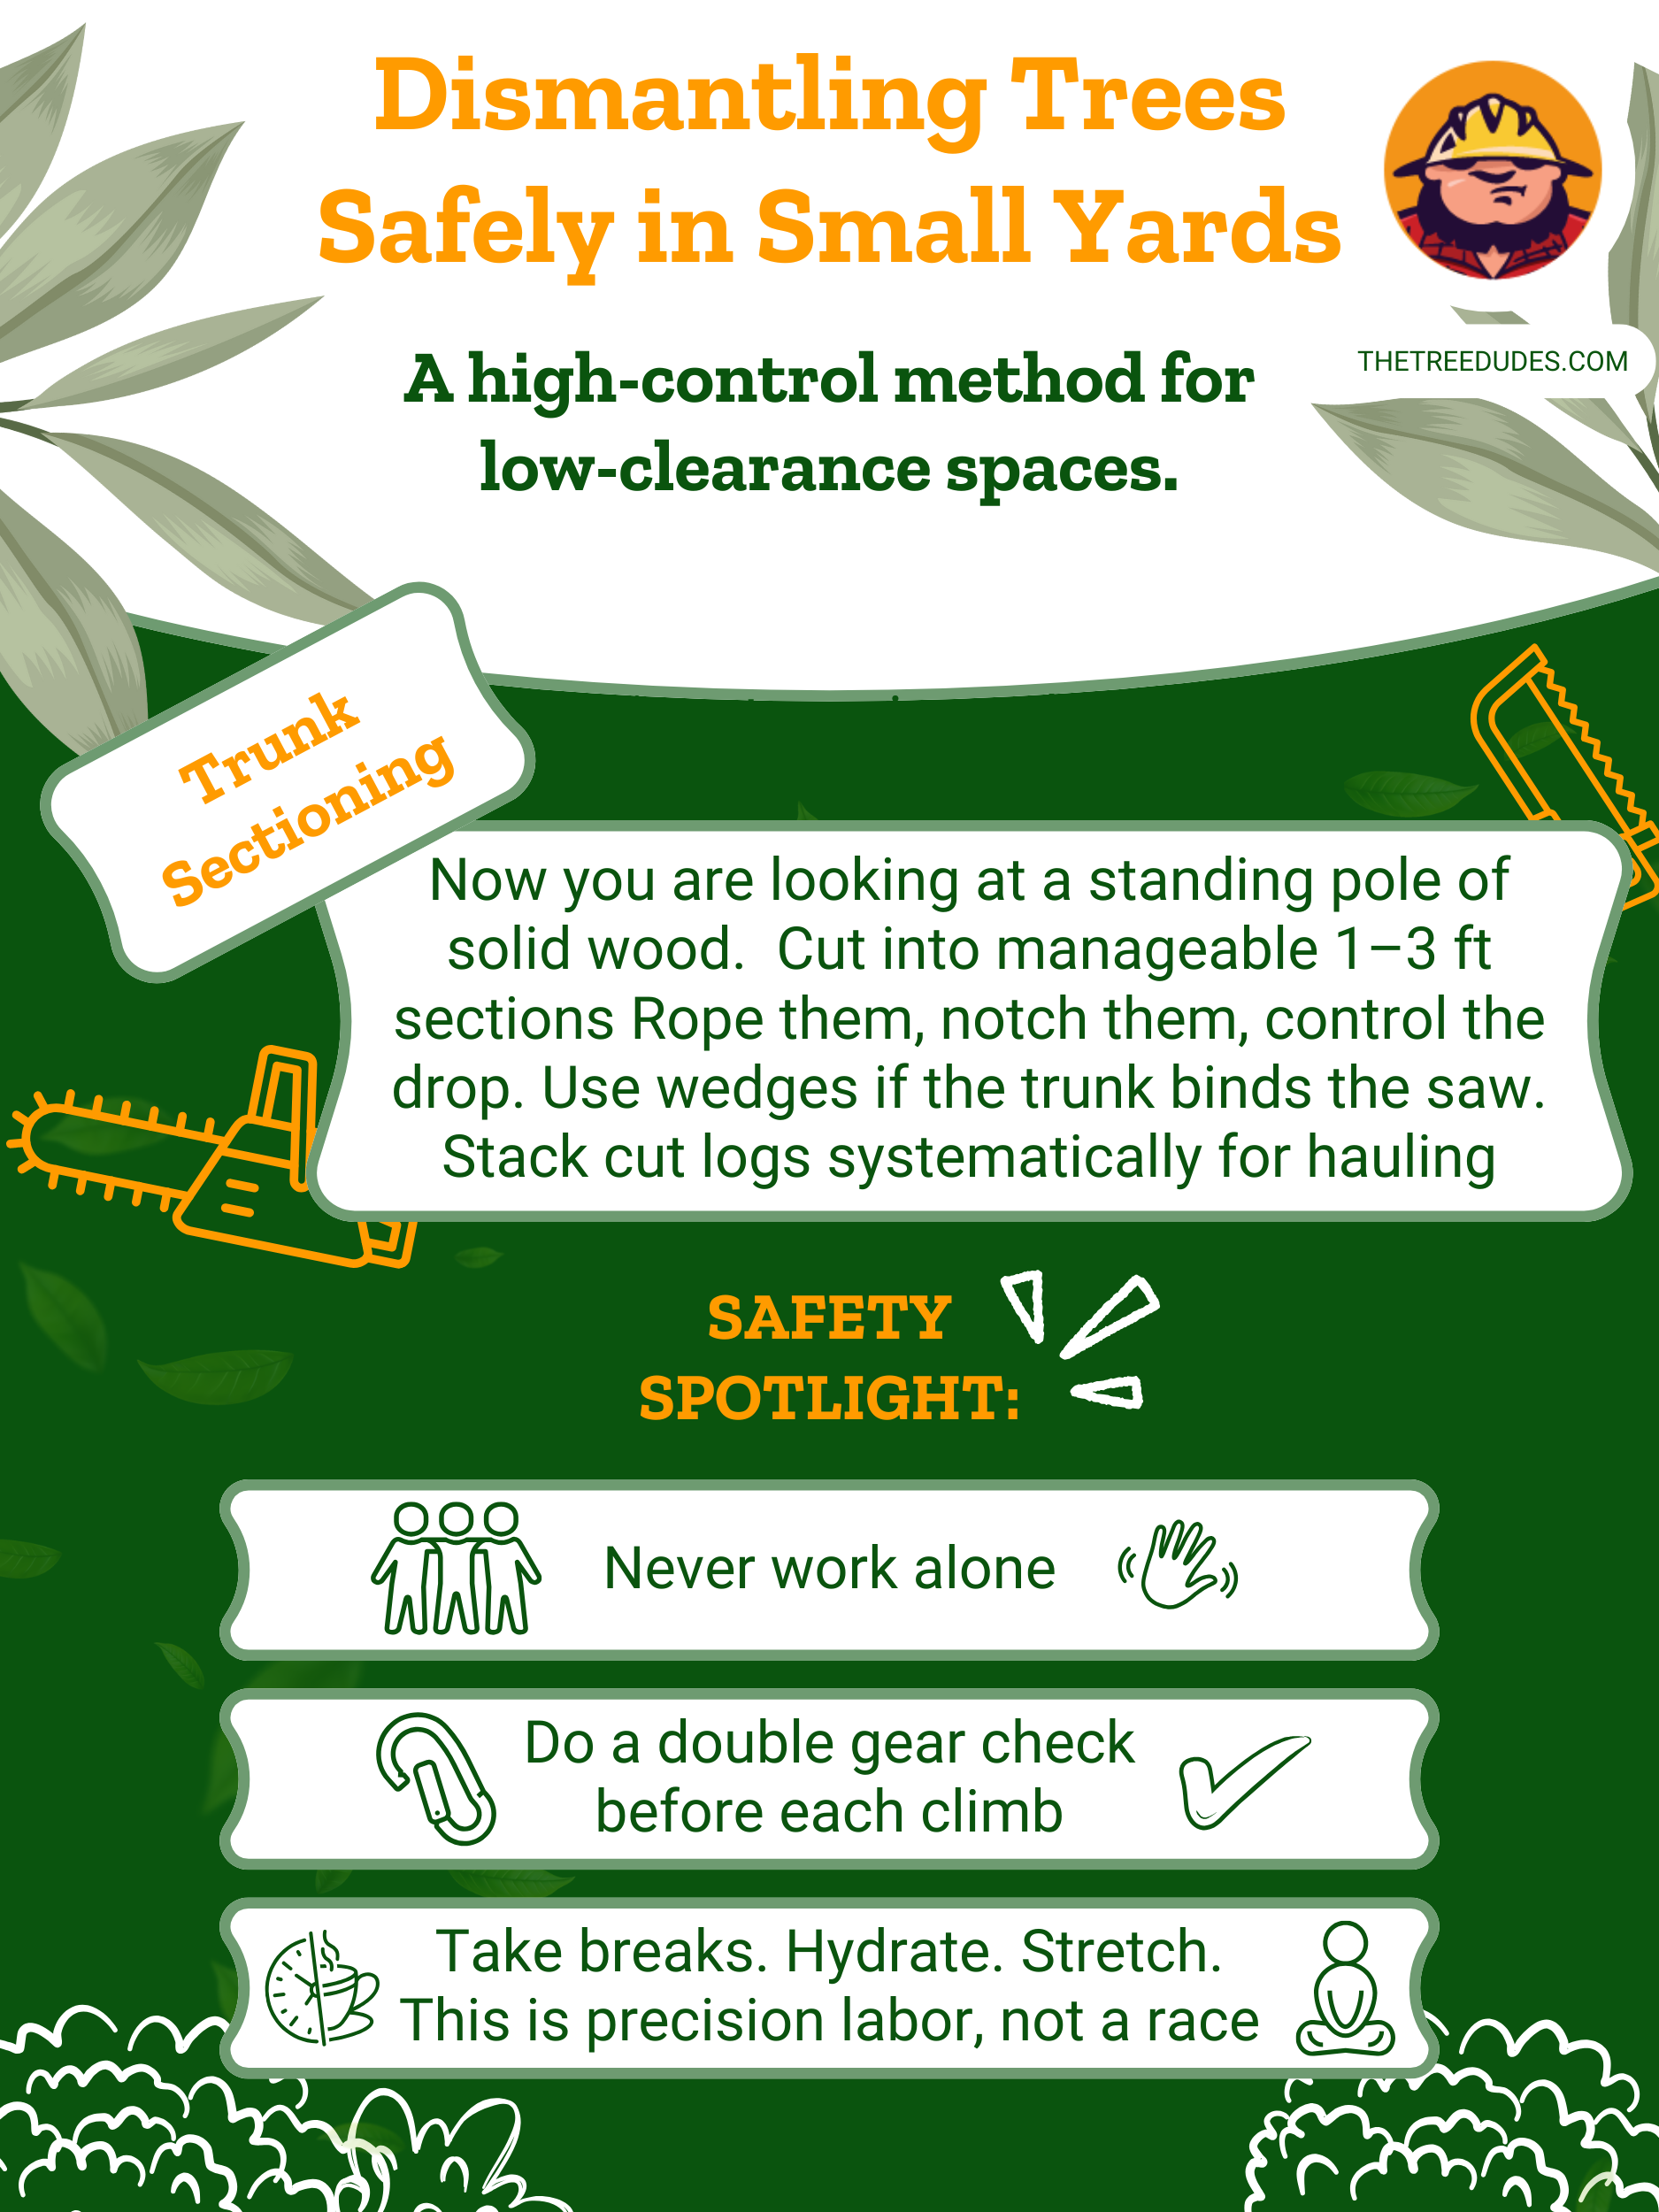
Trunk Sectioning
Once all the limbs are gone and you are left with a standing pole, it is time to cut the trunk itself. Start at the top and cut the trunk into sections 1 to 3 feet long. Use rigging ropes to guide each piece to the ground. Cut straight and level, angled cuts can cause the piece to roll or shift unexpectedly. If working solo, use a lowering system with a pulley anchored to another tree or a secure, solid high point. Continue until you reach a manageable height to perform basic stump removal.
When to Call a Professional
While handling tree removal on your own can be a rewarding experience, it is important to recognize that not every job is suited for a DIY approach. Tree felling comes with serious risks, especially when height, proximity to structures, or compromised tree health are involved. Sometimes, knowing when to take a step back and call in the pros is not a sign of weakness, it is just a smart choice.
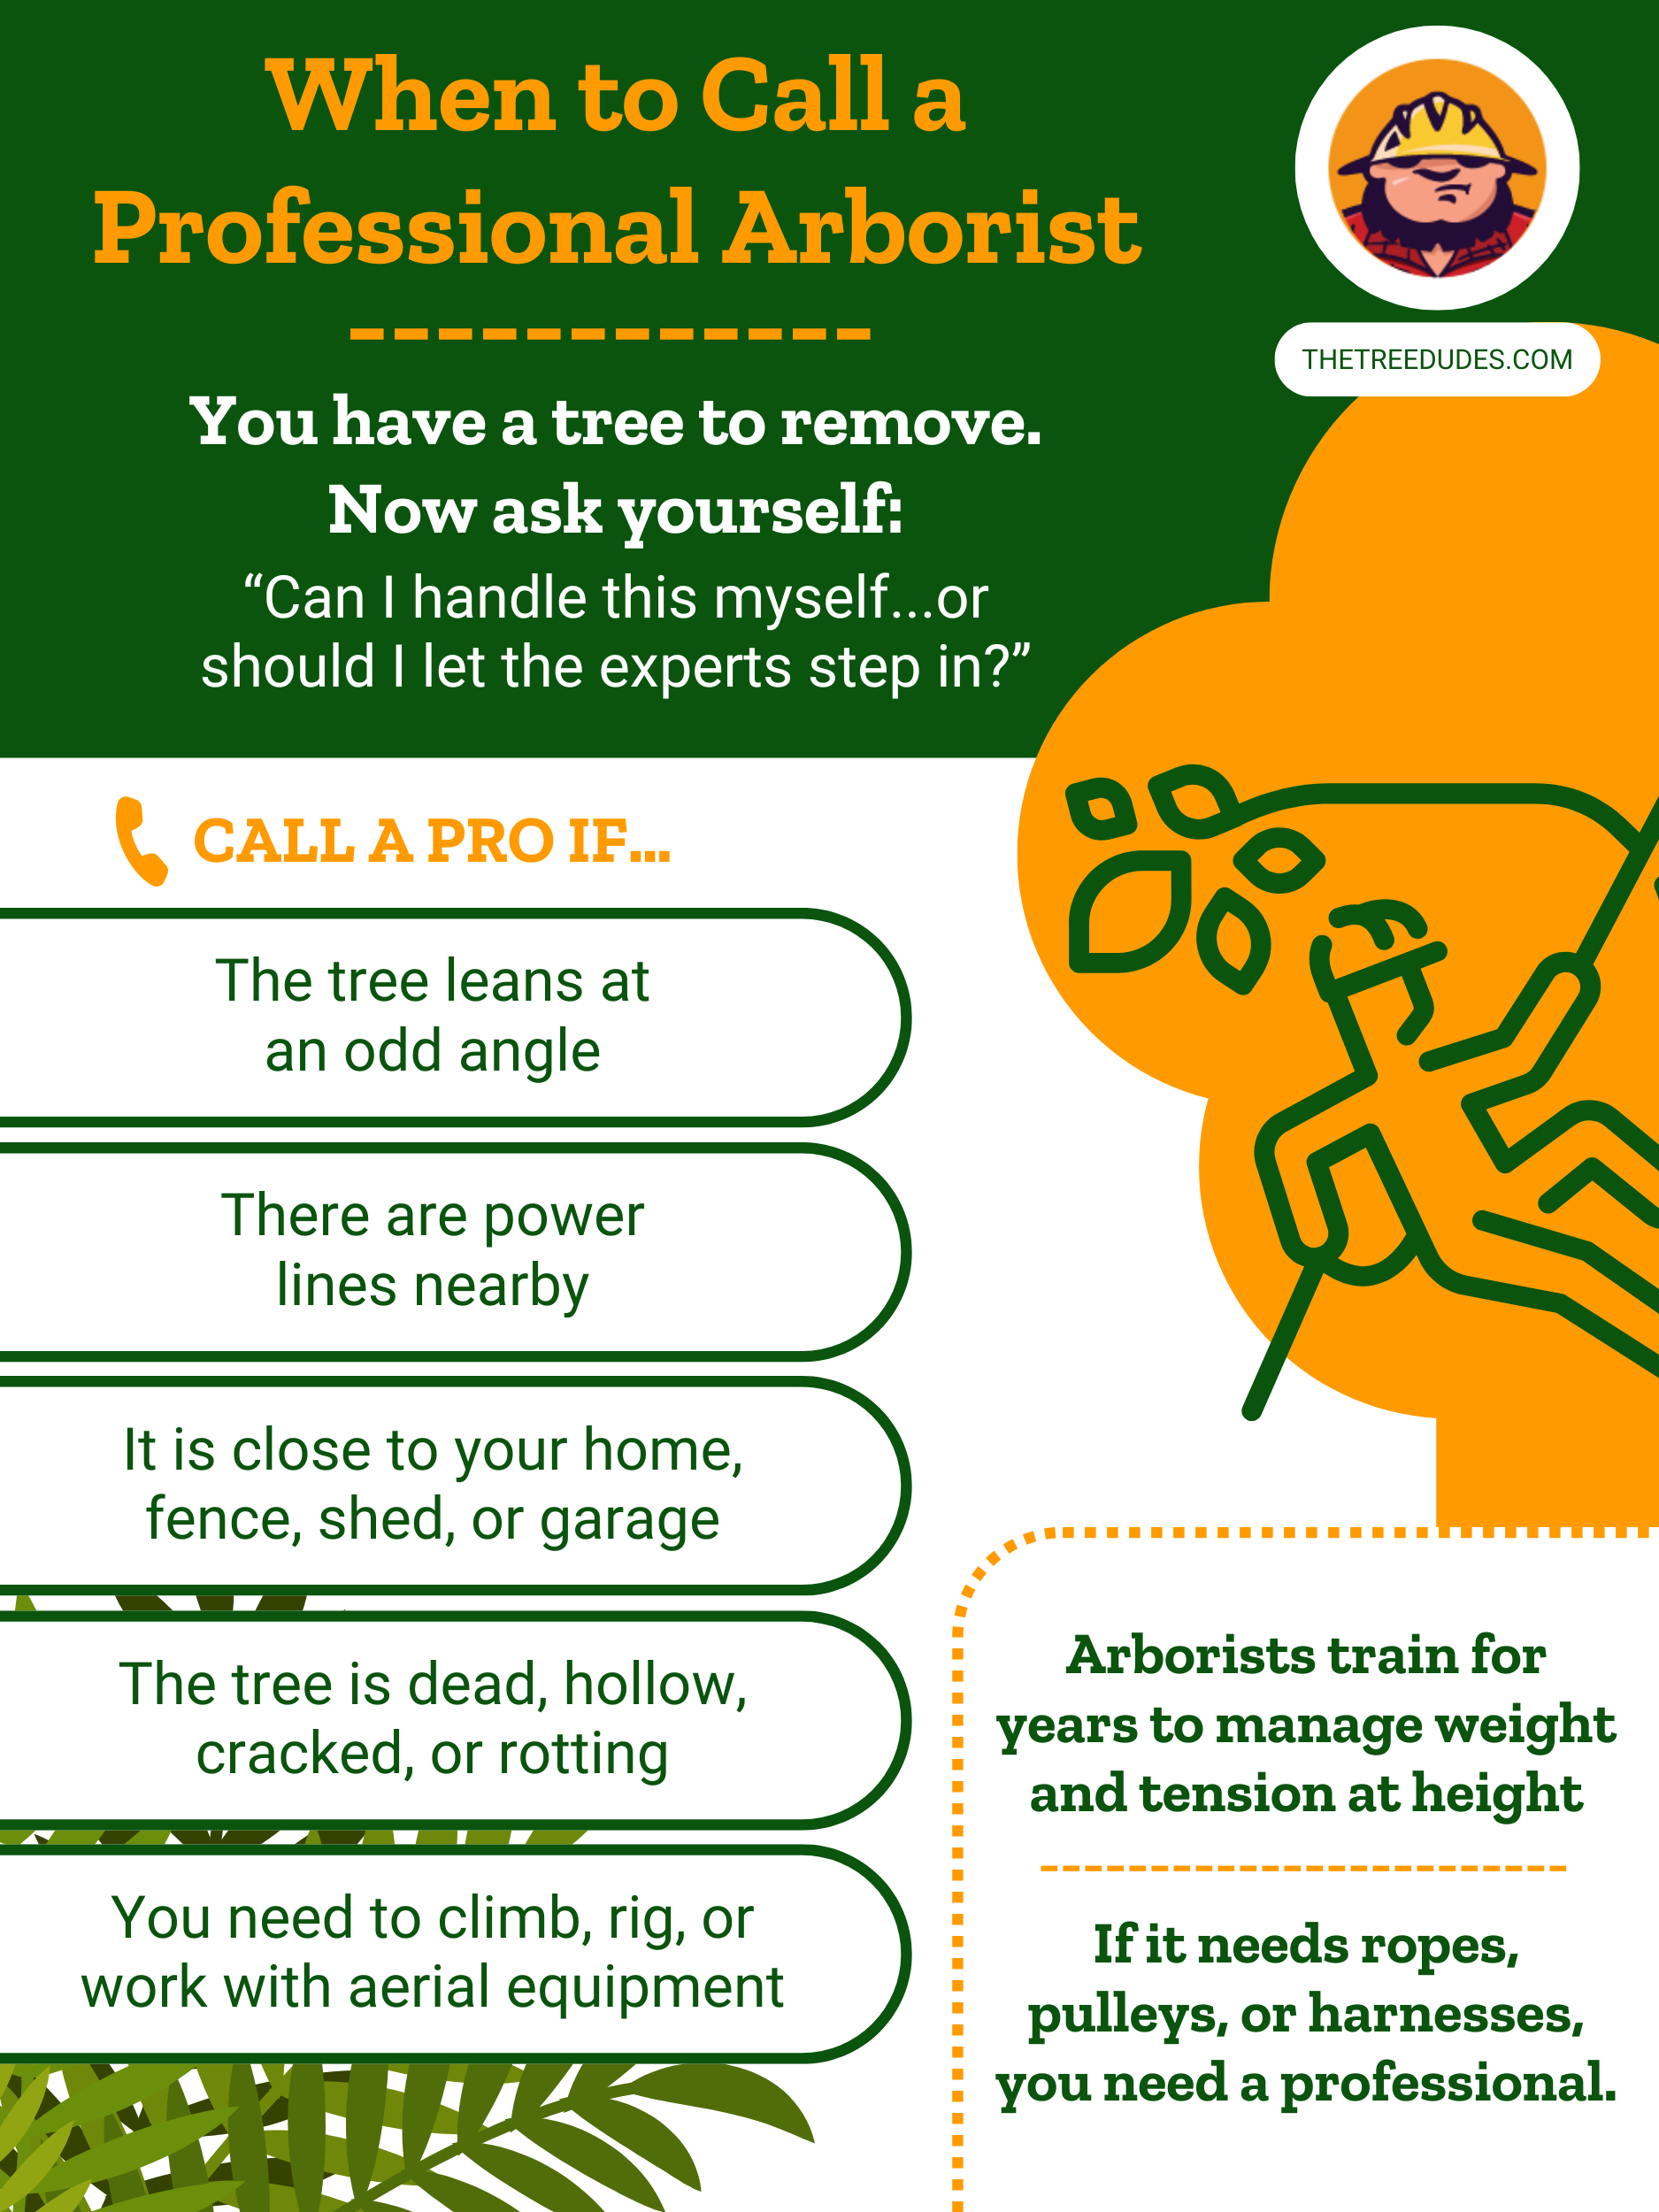
Here are clear signs it’s time to call in a certified tree removal service:
- The tree is large and leans near structures: If it towers over your home, garage, fence, or even a neighbor’s property, a miscalculated fall could result in costly damage or injury.
- Limbs are entangled with or near power lines: This is one of the most dangerous scenarios and should never be handled without proper training and coordination with your local utility company. Electrocution and power outages are very real risks.
- The tree is diseased, dead, or structurally unstable: Weak or rotting wood does not respond predictably to cuts. The internal decay may not be visible from the outside, making the fall direction harder to control.
- You lack the proper equipment or experience: If your chainsaw feels like it outweighs your confidence, it is a sign that calling a team of professionals is the safest course of action.
Tree removal pros offer more than just their gear, they have the skills, training, and insurance to back it all up. They can figure out a tree, check its health, plan where it will fall, and handle any surprises that come up safely. It is all about making sure the job gets done right and worry-free.

Bringing in the experts does not mean you can not handle things, it shows you know what is best for the situation.

From Tree Trouble to Yard Triumph
Removing a tree involves way more than just grabbing a chainsaw and starting to cut away, the process should involve a lot of planning to ensure precision and a real respect for both the environment and your pets, family, and neighbors’ safety. When executed correctly, it becomes a nice effort, blending both technique and care to protect your property, preserve surrounding landscapes, and prevent unnecessary hazards.
So as you step back and admire the work, whether yours or a team’s, take pride in the care you brought to the process. You did not just remove a tree. You protected your home, opened your landscape, and handled a complex task with thoughtful precision.


